

GardenerHeaven.com is reader-supported. When you buy through links on our site, we may earn an affiliate commission.
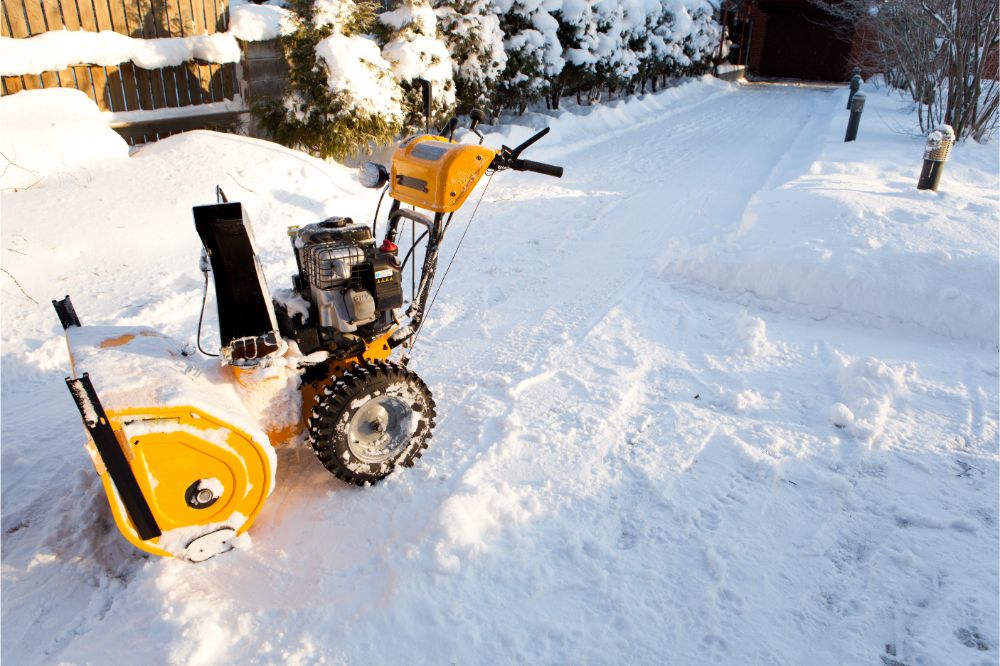
Summer season is here, the snow is finally over, and now you’re ready to store your snow blower. But as you go through the warm and fun moments, you need to ensure your snow blower is perfect and ready for the next winter season.
What does this mean? It would be best if you winterized your snow blower. Let’s find out when and the steps you can use to maintain the longevity of your snow blower.
When is the Best Time to Winterize a Snow blower?
Summertime is the perfect time to winterize your snow blower. It’s during the off-season that gives you the chance to check for any repairs and maintenance and to get it fixed. You also get the chance to decide if it’s time to replace or upgrade to a new snow blower that will keep you ready for the next winter season.
How Do You Winterize a Snow blower?
Storing your snow blower is not a quick fix, as you may assume, but there are essential tips you must follow to ensure it’s in good shape and ready for snowstorms when they kick in. Below are easy and comprehensive steps to guide you to winterize your snow blower.
Follow the Instructions in the Manual
This is a simple and essential step that requires you to get the manual guide and read it. Then, you will find all the detailed information concerning your snow blower.
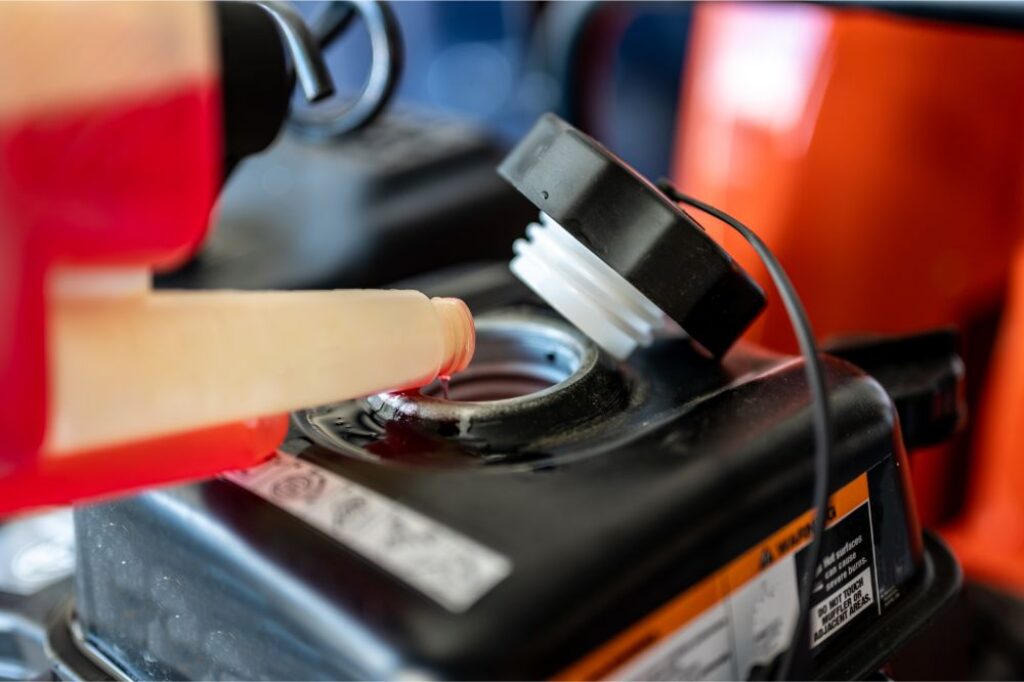
Drain the Fuel Tank
Failing to drain the fuel tank of your snow blower before storing it may be the main reason it may fail to start after summer. Stale fuel clogs the system, including injectors, fuel tanks, and lines. Once ethanol-based gasoline is left in the tank without being stabilized, it becomes a varnish-like mush.
Cleaning becomes a challenge due to residue and requires a replacement. To save yourself from this mess, you can either drain the fuel tank at the end of the snow-blowing period or follow the below steps.
- Make use of your snow blower until the gasoline runs out
- Ensure all fuel has been drained from the fuel line.
- Use a siphon pump and drain the fuel until the engine is dry
Use Fuel Stabilizers
Fuel stabilizers should be used if you are not in a position to drain the fuel of your snow blower. Fuel stabilizers prevent corrosion and rust, and help the engine run clean and smooth despite the long storage season. Ensure you stabilize the gas in the snow blower before filling it up with fresh fuel.
This will prevent the fuel from breaking down, turning into varnish-like gunk and stale. In addition, stabilizers prevent damage by absorbing any form of water just before ethanol reaches it. However, draining the fuel tank is far better than using the stabilizers.
Use Oil to Lubricate the Engine
Moisture causes havoc on the engine, and to prevent this, you must seal it with oil. To do this, you should:
- Disconnect the spark plug wire and loosen the spark plug beneath a sharp socket wrench.
- Fill the combustion chamber with a drop of oil.
- Pull the cable several times to disperse the gasoline and grease the piston and chamber wall.
- If the spark plug is broken or contains carbon deposits, replace it with a new one. Experts also recommend replacing the spark plug every season or when you are unsure of its condition.
- Pull on the cable until you feel resistance when replacing the spark plug. This signals proper sealing of the engine and protects it from airborne moisture.
Clean the Snow Blower
Using a soft cloth and a mild detergent, clean the outside of your snow blower to remove any dust, debris, grease, or salt strains. Dried salt may build up inside or outside your snow blower and cause corrosion, rusting, or even wear and tear during the winter. You may also use a rust-prevention spray which further preserves the snow blower’s exterior.
Check the Belts
Loosen the tracks, clog up the chassis to hang over the ground, and then take off the belt cover. This will help you notice any wear, cracks, or fraying. Replace worn-out belts immediately as they worsen and break when winterized.
Cover the Snow Blower
Now that you have done most of the draining, cleaning, and sealing, use the snow blower cover to save your efforts. Doing so will prevent dust, debris, and moisture from your snow blower.
You can either wrap it up with the cover you bought or with a tarp. Purchasing a cover is also an option as there are varieties in the market. If you are around children and fail to cover the snow blower, you may end up noticing scratches around it.
Store the Snow Blower
This is the last step to ensure outdoor elements don’t get in contact with your snow blower. Find a suitable place like a dry and well-ventilated garage and place your snow blower inside. If you’ve run out of storage space, you can move it to the shed or build one. Another alternative is outdoor storage, where you must ensure the ground is elevated to protect from water damage and well covered to prevent harsh weather conditions like sunshine and rain.
Placing your snow blower on a mat is good and simpler to roll outside to the yard.
Precautions to Observe while winterizing a Snow Blower
Now that you understand the steps of winterizing your snow blower, you may want to observe the below precautions to keep you safe.
- Turn off the engine before you start inspecting, cleaning, or winterizing your snow blower by disconnecting the spark plug wire.
- Open the outdoor doors and avoid running the engine indoors as exhaust gasses are hazardous.
- Wear personal protective gear as recommended by the manufacturer.
Conclusion
Winterizing your snow blower is not a waste of time as it will save you the agony and frustration when it snows again the next winter season. The above steps are easy to follow. Once you’re through, you may sit back, relax, and enjoy your summertime without the worry of dealing with a damaged snow blower.

