

GardenerHeaven.com is reader-supported. When you buy through links on our site, we may earn an affiliate commission.
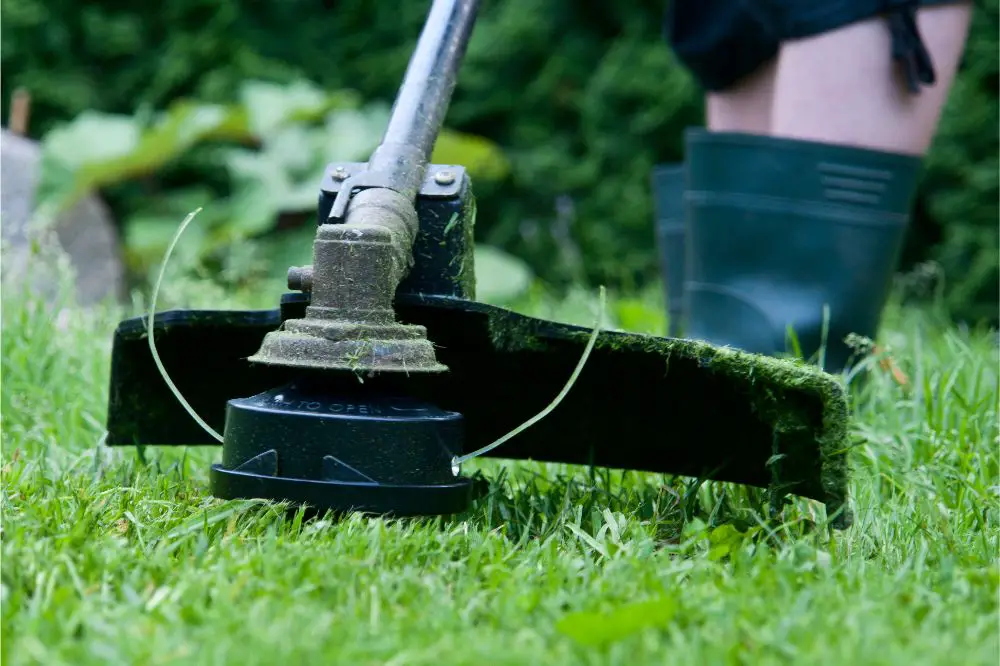
When you’re working on your lawn with a weed trimmer, the plastic string that’s used to cut the grass wears down over time. How long it takes until you’ll need to re-string the trimmer depends on how long the spool you originally bought is. Either way, you’ll eventually find yourself in need of knowing how to string a trimmer.
There are some trimmers that allow you to simply remove the pre-strung spool and replace it without having to actually string it through the trimmer. But your standard model of weed trimmer is going to require feeding the plastic string through the spool underneath. Depending on your model, weed trimmers may operate with one string or two.
Let’s take a look at how to properly string a weed trimmer. You’ll need a replacement pack of weed trimmer string, as well as a pair of strong scissors to trim it.
Get new string
The first thing you’ll want to do is make sure that you have the correct width of the replacement string. If you have a width of string that is too thick or too thin, it won’t work properly in your weed trimmer. Check online with your weed trimmer’s manufacturer if you’re unsure.
Remove the empty spool
The first thing you want to do is remove the empty spool. Underneath your trimmer, you should see the retaining ring that holds the spool of string. Depending on what model of trimmer you have, you may have to press on two tabs to pop out the old spool or unscrew the ring to get it out.
Cut the new string
How much new string you’ll need also depends on the model of weed trimmer that you have and the size of the spool. Your average weed trimmer can hold between 15 and 25 feet of plastic spool. If you cut too much, you can always trim it after you’ve wound the string around the spool.
If your weed trimmer uses two strings instead of one, you’re going to want to cut two lengths of plastic string at the exact same length.
Locate the center hole
At the center of the spool, there is a small hole. If your weed trimmer uses two strings, then there should be two holes available that are separated by a plastic divider. Use this hole to hold the string in place while you wrap it around the spool by inserting just about half an inch of the plastic string into the hole.

Wrap the string around the spool
Once you have the end of the string inserted into the center hole, observe the arrow that should be marked on the spool. The direction of this arrow tells you the direction that you should begin wrapping the plastic string.
When you begin winding the string, make sure that each time you wrap it around, the string lays flat next to one another. Once you cover the entire spool with the string pressed flushed together, then you can start overlapping it to begin the next layer. This prevents the string from tangling when you are using it.
Continue wrapping the string around the spool until you are left with about 6 inches at the end.
If you have a two-string weed trimmer, repeat this process on the opposite side of the plastic divider with the second length of plastic string.
Insert the string into the notch
On the flat outside of the spool, there should be a notch for you to place your string into. This will hold everything together so that your string doesn’t come undone while you’re replacing the spool back into the trimmer head.
Replace the retainer
Now that everything is held in place, you can replace the retainer back into the head of the trimmer. Once you do, you can pull the string from the notch and slide it through the slot in the head of the trimmer. Give it a few pulls to make sure that it is moving smoothly.
Conclusion
Being able to do yard maintenance on your own without having to spend the money to hire someone is a valuable skill. Now you know how to string your weed trimmer when it runs out. The process is quite simple once you know what you’re doing.

