

GardenerHeaven.com is reader-supported. When you buy through links on our site, we may earn an affiliate commission.
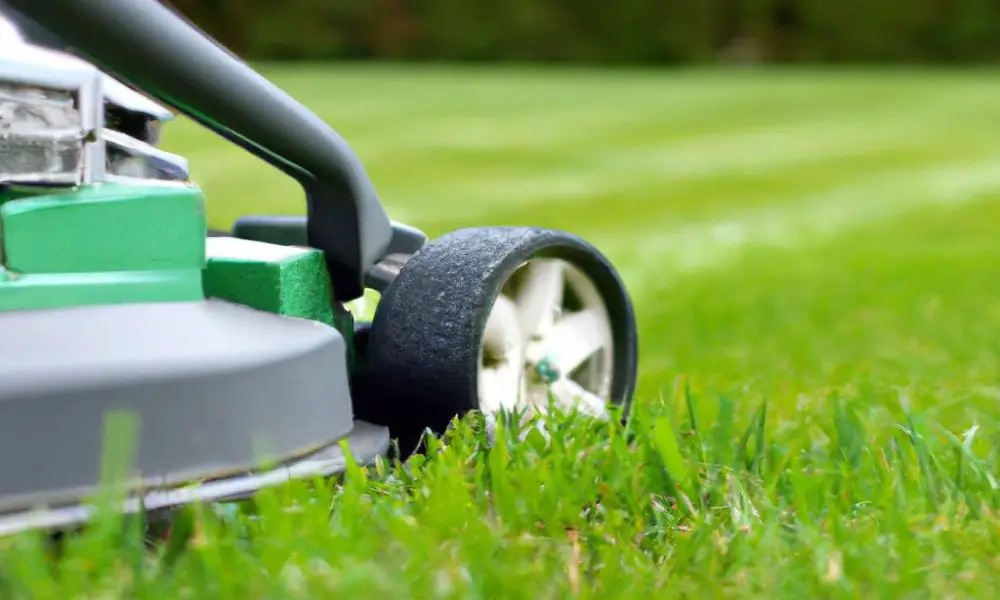
Knowing how to jump start a lawn mower is crucial for every homeowner. In this section, we will explore the importance of this skill and why it is essential for maintaining a well-functioning lawn mower. Whether it’s a dead battery or a cold engine, we’ll provide you with easy and effective methods to get your mower up and running again. So, let’s get started and ensure that your lawn mower is always ready to tackle that grassy terrain!
Importance of knowing how to jump start a lawn mower
Photo Credits: Gardenerheaven.Com by Nathan Williams
Knowing how to jumpstart a lawn mower is key for maximizing its life. Knowing this, we can be ready for any unexpected battery issues.
To jump start it:
- Check if the battery is dead: Signs of a dead battery include dim lights or a clicking sound when trying to start the mower.
- Get the tools needed: Wire brush, baking soda, jumper cables, safety goggles and leather gloves.
- Clean the battery terminals: Use baking soda and a wire brush to remove any corrosion.
- Connect the jumper cables:
- Step-by-step process: Connect the cables to both vehicles involved in the jumpstart.
- Connecting positive cable: One end of the positive cable to the positive terminal of the car’s battery and then connect its other end to the positive terminal of the lawnmower’s dead battery.
- Connecting negative cable: Attach one end of the negative cable to the negative terminal of any well-grounded metal part on both vehicles and connect its other end to either an unpainted metal surface on your lawnmower or its engine block.
- Start the lawnmower:
- Start car first: With both vehicles connected by jumper cables, start up the car’s engine and let it run for several minutes before attempting to start the lawnmower.
- Attempting to start mower: After charging, try starting the lawnmower while keeping safety precautions in mind.
- Safety precautions: Make sure the clamps of the jumper cables do not touch each other to avoid sparks or damage. Also, let the lawnmower battery charge before disconnecting the jumper cables.
Regular battery maintenance is important for extending its life and preventing early failure. To maintain it:
- Use a trickle charger when not in use.
- Charge the battery every one to two months.
- Check for corrosion or cracks on the terminals and clean them.
- For wet cell batteries, check water levels and top up.
By knowing how to jump start a lawn mower and doing regular maintenance, we can keep it functional and prolong its lifespan. So, make sure to know these procedures to always have your lawn mower ready!
Checking if the battery is dead
Photo Credits: Gardenerheaven.Com by Tyler Gonzalez
When it comes to jump-starting a lawn mower, one crucial step is checking if the battery is dead. In this section, we’ll cover how to confirm the battery’s condition and recognize the signs of a dead battery. By understanding these key indicators, you’ll be able to diagnose and address battery-related issues effectively. So, let’s dive in and ensure your lawn mower is powered up and ready to go.
Confirming the battery’s condition
It’s essential to evaluate a lawnmower battery to know its condition. Visual inspection can show cracks or leakages which require immediate attention. Measure the voltage with a multimeter – a healthy battery should have 12.4-12.7 volts. Wet cell batteries need to have electrolyte levels checked by removing the caps and examining the fluid in each cell. Corrosion on the terminals should be looked for too. Lastly, assess the battery’s performance – slow cranking or no power can mean a weak or dead battery. To keep a lawnmower battery running smoothly for longer, clean its terminals, replace cracked or damaged parts, use a trickle charger, and check water levels in wet cells. Is your battery lifeless? Look out for these signs!
Signs of a dead battery
A dead battery in a lawnmower can stop it from starting and impact its performance. Be aware of signs that could point to a dead battery and take action quickly!
- Engine doesn’t crank: A telltale sign of a dead battery is when the engine won’t start or crank at all. This indicates there isn’t enough power to ignite the engine.
- Dim/flickering lights: Dim or flickering lights on the lawnmower can be a sign of a weak or dying battery, not providing enough power for the lights to stay bright.
- Clicking sound, no starting: If you hear a clicking sound when you try to start the mower but nothing else happens, this could be a sign of a dead battery. The clicking means there is enough power to engage the starter motor, but not enough to start the engine.
- Slow cranking speed: If the engine cranks unusually slowly, this may mean the battery is weak or dying. This reduced speed shows insufficient power is being supplied by the battery.
- Age of the battery: Battery age is another potential indication of a dead battery. If the lawnmower’s battery is over three years old, it may need replacing soon.
These signs aren’t definitive proof though, so confirm the condition of the battery with diagnostic tools or get expert help. Knowing these signs can help identify any potential problems before they become more costly.
Be sure to take action right away if you notice any of these signs. Ignoring them can lead to more damage to the electrical system, or even make the lawnmower unusable. Regular maintenance and proactive battery checks are key to keeping your lawnmower in good working order.
Gather the necessary tools and get your jumper cables ready – it’s time to jumpstart this lawnmower! So don’t delay taking necessary steps to revive or replace the dead battery and avoid frustration during crucial gardening seasons.
Gathering the necessary tools
Photo Credits: Gardenerheaven.Com by Ronald Rivera
Gathering the necessary tools for jump-starting your lawn mower is crucial to ensure a smooth process. From a wire brush and baking soda to jumper cables, safety goggles, and leather gloves, each tool has its own role in getting your mower up and running. With these essentials in hand, you’ll be equipped to tackle any potential issues and get back to maintaining your lawn in no time.
Wire brush
A wire brush is a must-have to jump-start a lawn mower. It is ideal for cleaning the battery terminals and getting rid of any built-up corrosion or dirt. The wire bristles scrape away any corrosion and provide a clean surface for the jumper cables to connect to the battery. This helps make sure electricity flows smoothly, allowing for successful jump-starting.
Furthermore, a wire brush can also be used for other tasks like removing rust or dirt from metal surfaces. Its strong bristles and ergonomic design make it an invaluable tool for maintaining lawn mowers. When handling a wire brush, take caution to avoid injury and always wear protective gear such as gloves and safety goggles.
Baking soda is a secret weapon that fights battery corrosion and bad smells.
Baking soda
Baking soda is a great cleaning agent for battery terminals. Over time, corrosion can build up and this is where baking soda comes in! It’s a mild abrasive, so it removes dirt or grime that can obstruct the connection. Plus, it neutralizes the acid. Battery acid can be corrosive and cause damage. Baking soda prevents this.
It also cleans the wire brush used in the process. After brushing off corrosion, dip the brush in baking soda to clean away residue.
Baking soda has a dual-action property. It cleans and neutralizes acid. This is great for jump-starting a lawn mower. My neighbor had this experience – his mower wouldn’t start, so he used baking soda for the battery terminals. After connecting the jumper cables, the mower roared to life!
In conclusion, baking soda is an affordable and useful substance for lawn mower maintenance. It cleans and neutralizes acid. So, reach for the baking soda next time you encounter corrosion.
Jumper cables
Jumper cables come with thick, insulated wires and clamps – one red (positive) and one black (negative). They have terminals and a circuit to allow electricity to pass through with high currents, but overheating can cause damage. Different lengths and gauges are appropriate for basic functionality and safety features. Rubber insulation and handles protect against electrical shocks. They should be sturdy and reliable for effective use.
To jump-start a dead lawnmower battery, follow the correct steps by connecting the positive clamp to the positive terminal of the working vehicle’s battery, and the negative clamp to the negative terminal of the working battery. This will ensure the proper flow of electricity. To minimize potential risks, it is important to understand how jumper cables work and follow the provided guidelines to confidently jump-start. Always wear safety goggles and take safety precautions to avoid accidental sparks or short circuits.
Jumper cables are an indispensable tool for reviving a depleted battery. Their safe nature and correct usage techniques enable you to quickly get your lawn mower back up and running. Lawnmowers and fashion have nothing in common.
Safety goggles
Wearing safety goggles is key when jump starting a lawn mower. Sparks can fly and debris can be dislodged, so the goggles help protect the eyes from harm. Plus, they can act as a barrier against any chemicals, like baking soda, when cleaning the battery terminals.
Safety goggles also minimize the risk of accidents or injuries occurring during the process. They create a barrier between the eyes and any potential hazards. However, to ensure maximum protection, it is important that the goggles meet the right standards and fit properly.
Additionally, other safety measures should be followed. Avoid clamps touching each other and allow the battery to charge correctly for optimal safety.
Leather gloves
When jump starting a lawn mower, it’s important to remember to put on leather gloves for protection. These gloves offer insulation from shocks and a better grip on tools. They also provide a barrier to sharp or abrasive surfaces and protect from hazardous chemicals. Leather gloves are reliable and durable, ensuring a safer jump-starting process. It is vital to make sure the gloves are worn properly and regularly inspected. This will keep them effective in protecting against injuries. So, if your battery terminals need some serious TLC, it’s time to get baking soda and a wire brush!
Cleaning the battery terminals
Photo Credits: Gardenerheaven.Com by Terry Hill
Cleaning the battery terminals is crucial for maintaining the proper functioning and longevity of your lawn mower. In this section, we’ll explore an easy and effective method using baking soda and a wire brush. This technique will help you remove corrosion and ensure a strong connection between the battery and the mower’s electrical system. Get ready to revive your lawn mower’s battery with this simple yet powerful cleaning solution.
Using baking soda and a wire brush
Need to improve your lawn mower’s performance? Here’s a simple and effective way to clean its battery terminals:
- Step 1: Gather baking soda and a wire brush.
- Step 2: Mix baking soda with water to create a paste.
- Step 3: Apply the paste onto the wire brush.
- Step 4: Use the wire brush to scrub away any corrosion or buildup on the battery terminals.
- Step 5: Rinse off residue with clean water.
By following these steps, you can effectively remove any corrosion or buildup on your lawn mower’s battery terminals. Don’t forget to regularly maintain your battery using baking soda and a wire brush to prevent failure and prolong its life.
Connecting the jumper cables
Photo Credits: Gardenerheaven.Com by Vincent Hall
Connecting the jumper cables is a crucial step when jump-starting a lawn mower. In this section, we will explore the step-by-step process of connecting the cables, including how to properly connect the positive and negative cables. By following these instructions, you’ll be able to safely and effectively jump-start your lawn mower.
Step-by-step process
Jump-starting a lawn mower requires a specific process. Follow these steps to ensure safety and success!
- Gather the tools: wire brush, baking soda, jumper cables, safety goggles, and leather gloves.
- Clean the battery terminals with baking soda and a wire brush to remove any corrosion.
- Connect the positive cable to the positive terminal of the dead battery.
- Connect the negative cable to a metal part away from the battery.
- Start the car and let it idle to charge the lawnmower’s battery.
- Attempt to start the lawnmower.
- Take safety precautions – avoid clamps touching each other.
- Allow the lawnmower’s battery to charge fully.
- Implement proper maintenance techniques with a trickle charger every one to two months.
- Check for corrosion or cracks on the battery terminals and clean them as needed.
- Get a positive connection and a negative attitude, and you’ll be ready to jumpstart your lawn mower!
Connecting the positive cable
- Firstly, switch off both vehicles and take out the ignition keys.
- Find the positive terminal of the donor vehicle’s battery and the dead lawnmower battery. It is usually labeled with a plus (+) sign.
- Attach one end of the jumper cables securely to the donor’s battery-positive terminal.
- Then, attach the other end of the positive cable to the lawnmower battery’s positive terminal. Make sure it’s tight.
- Check twice that the positive cable ends are correctly attached.
- You’re ready to jump-start your lawnmower!
Remember, safety first. Stop sparks or electrical shorts by avoiding metal clamps from different cables touching each other.
Start your car first before you start the lawnmower. This allows power flow through the cables and protects the vehicle’s electrical system.
Good maintenance habits are key after jump-starting. Use a trickle charger to keep your battery charged when not in use. Charge it every 1-2 months to prevent it from losing charge completely.
Signs of corrosion or cracks? Clean them up with baking soda and a wire brush.
For wet cell batteries, check & refill the water levels with distilled water. Neglecting maintenance can lead to battery failure.
By connecting the positive cable safely, and maintaining your battery, you can make your lawnmower last longer.
Connecting the negative cable
Gather the tools needed: wire brush, baking soda, jumper cables, safety goggles, and leather gloves for safety.
- Attach one end of the black/negative clamp to the negative terminal of the fully charged battery.
- Find the lawnmower’s negative terminal, usually marked with a “-” symbol. Connect the other end of the black/negative jumper cable clamp to this terminal.
- Make sure all connections are secure and tight.
Be mindful: Avoid clamps touching each other or any metal surfaces apart from their designated terminals. This prevents electric shock or short circuits.
Maintenance Tips: Check for corrosion or cracks in the lawnmower battery. Use a trickle charger and charge the battery every one to two months to extend its life.
Follow these steps and you’ll be jumping your lawnmower in no time!
Starting the lawnmower
Photo Credits: Gardenerheaven.Com by Zachary King
Starting the lawnmower can be a breeze with effective methods. Whether it’s starting the car first to provide power or attempting to start the lawnmower directly, there are ways to get your lawnmower up and running in no time. So let’s explore these methods and find the best approach to jump-starting your lawnmower effortlessly.
Starting the car first
I once needed to jump-start my lawnmower. I recalled the article I’d read about it and decided to start my car first. This provided enough power. My lawnmower was up and running again! I learned it’s important to start the car first when jump-starting a lawnmower. Plus, you should know how to maintain equipment batteries for continuous use. Here’s what to do:
- Turn off lights and radio in the car. That’ll minimize power use from the battery.
- Connect one end of the red/positive jumper cable to the car’s battery’s positive terminal.
- Connect the other end of the positive jumper cable to the lawnmower’s dead battery’s positive terminal.
- Start the car engine and leave it running a few minutes. That’ll let the alternator charge both batteries.
- Don’t let metal clamps touch each other – this can cause sparks.
- Let the lawnmower battery charge after jump-starting before using it.
Attempting to start the lawnmower
Jump-starting a lawnmower can be tricky! Here’s a 5-step guide for success:
- Start the car used for jump-starting and let the engine stabilize at idle speed. This will ensure power flows through to the lawnmower.
- Locate the ignition switch or keyhole. Turn it counterclockwise to activate the system.
- Move any safety switches and levers to the right positions.
- Pull back or push the starter button. Expect resistance when pulling the cord.
- Listen for engine noise or movement. Clicking or little movements may mean there’s not enough power. Try again if needed. Be careful and repeat steps as necessary.
That’s all you need to know to start your lawnmower!
Safety precautions
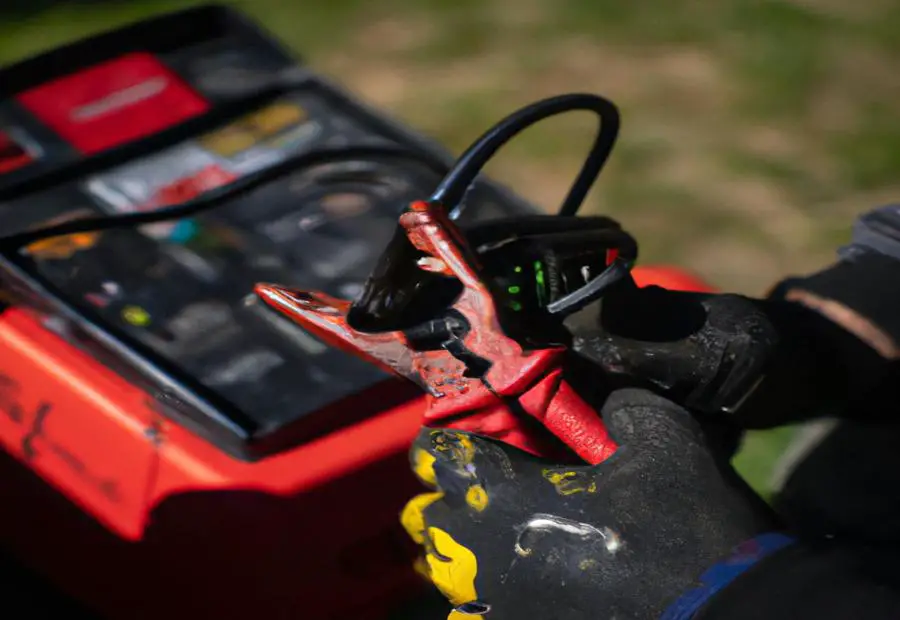
Photo Credits: Gardenerheaven.Com by Gerald Roberts
To ensure safe operation when jump-starting a lawn mower, it is important to take appropriate safety precautions. These include preventing clamps from touching each other and allowing the lawnmower battery to charge properly. By following these safety measures, you can protect yourself and ensure successful jump-starting without any mishaps.
Avoiding clamps touching each other
When connecting jumper cables to your lawnmower battery, it is important to avoid clamps touching each other to minimize any risks. This also helps maintain the longevity of all components involved and prevents damage to both batteries.
A true story told by a lawnmower owner highlights why avoiding clamps touching each other is essential. The clamps touched each other and caused significant damage to both batteries, as well as melted wiring.
To prevent such issues, always take safety precautions when performing such tasks. And, give your battery some rest once done – even batteries need R&R!
Letting the lawnmower battery charge
-
Turn off the car’s engine. Connect the jumper cables to both the car and lawnmower batteries then turn off the car engine. This will send power to charge the lawnmower battery.
-
Disconnect the cables. Start by removing the negative cable from each battery, then take off the positive cable.
-
Let it sit. Allow 5-10 minutes for the lawnmower battery to charge after disconnecting it from the car.
-
Reconnect everything. Connect the positive cable first, followed by the negative cable.
-
Start the lawnmower. Once connected, attempt to start the lawnmower as you usually would. The charged battery should be enough power to start it.
-
Monitor the battery level. After starting, keep an eye on the battery level indicator, or monitor performance over time. If necessary, consider charging or replacing the battery if it fails to hold a charge or perform as expected.
Remember to fully charge the battery before use for optimal performance. Give your lawnmower battery some love and it will love you back!
Maintaining the lawnmower battery
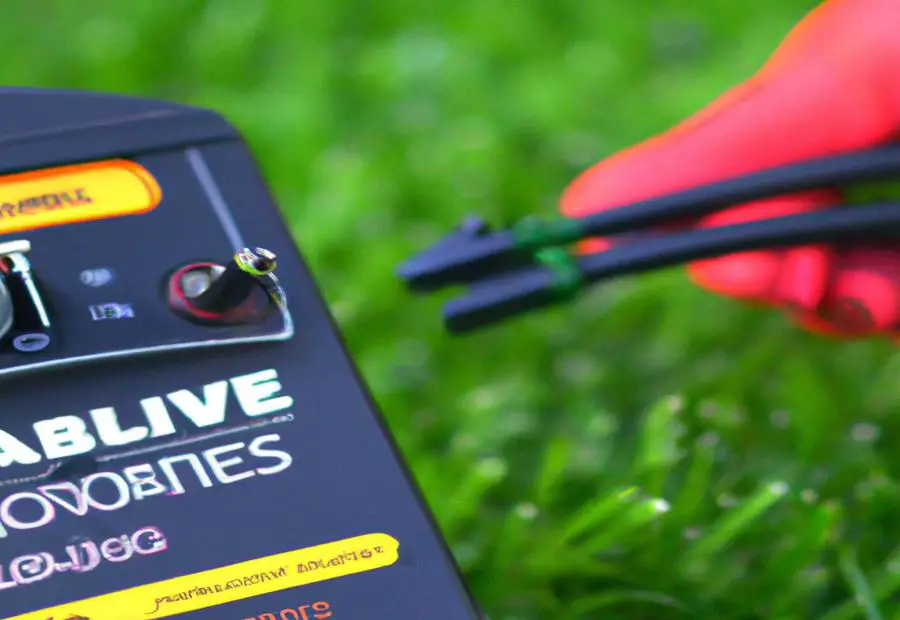
Photo Credits: Gardenerheaven.Com by Roger Green
When it comes to maintaining the lawnmower battery, there are several key practices to keep in mind. From using a trickle charger to regularly checking for corrosion or cracks, these methods are essential for ensuring the longevity and performance of your battery. Additionally, charging the battery every one to two months and checking water levels for wet cell batteries are crucial steps in keeping your lawnmower ready for action. Let’s dive into the details of each sub-section to learn more!
Using a trickle charger
A trickle charger is a great tool for preserving the battery of a lawnmower. It keeps the battery powered and ready to go. By using it, you can make sure your lawnmower battery stays in perfect condition, making it last longer.
To use a trickle charger properly, do these five things:
-
Connect the positive cable. Begin by finding the positive terminal on the trickle charger and the lawnmower battery. This terminal is usually marked with a plus (+) sign or red. Attach one end of the positive cable securely to the positive terminal of the lawnmower battery.
-
Connect the negative cable. Identify the negative terminal on both the trickle charger and the lawnmower battery. It is usually labeled with a minus (-) sign or black. Be sure not to confuse it with anything else near it. Attach one end of the negative cable from the trickle charger to the negative terminal of the lawnmower battery.
-
Set up charging parameters. Read the manual of your specific trickle charger to determine how long to connect it to charge your lawnmower battery. Adjust any settings on the trickle charger according to this.
-
Plug in and activate. Once everything is set up, plug in the trickle charger into an electrical outlet. Make sure it has a reliable power supply. Start your trickle charger based on its instructions, so it starts to charge your lawnmower battery.
-
Monitor charging progress. Check your lawnmower battery’s charging progress while using a trickle charger often. If you notice any problems, read the manufacturer’s guidelines for troubleshooting.
By using a trickle charger correctly to maintain your lawnmower battery, you can make it last longer and make it more reliable.
But, it’s also important to inspect and maintain the lawnmower battery regularly. Make sure to look for signs of corrosion or cracks regularly. If your lawnmower has a wet cell battery, check the water levels and top it up if needed. Doing this will help make your lawnmower battery last longer and make sure it works when you need it.
Charging the battery every one to two months
Charge your lawnmower battery every one to two months for an extended lifespan and optimal performance. Follow these 5 steps to charge it safely:
- Disconnect the battery from the mower.
- Choose the right charger.
- Connect the charger’s positive (+) cable to the positive terminal of the battery. And the negative (-) cable to the negative terminal.
- Plug the charger into a power source. Follow the manufacturer’s instructions for charging time.
- Monitor the charger’s indicator and the battery’s temperature level during charging. Avoid overheating or overcharging.
Other tips for maintaining lawnmower batteries:
- Check for corrosion or cracks on the battery terminals regularly. Clean or replace if necessary.
- For wet cell batteries, check water levels and top up with distilled water periodically. Don’t use tap water.
Charging your battery regularly can save you money and time by preventing battery-related issues. So keep on top of it!
Regularly checking for corrosion or cracks
Checking batteries for corrosion or cracks is essential. This routine involves looking for signs of corrosion or cracks that may affect its performance. Not doing so can cause bad electrical contact and damage to the battery cells. Here’s how to check a lawnmower battery:
- Disconnect the battery.
- Look for corrosion or cracks.
- Use a wire brush to scrub away deposits.
- Mix baking soda with water and scrub.
- Rinse and pat dry.
- Reconnect and test.
Remember to check regularly. Also, be aware of unusual odors or sounds when mowing. Dispose of old or damaged batteries correctly.
A lawnmower owner ignored regular checks and got stuck mid-mow. Inspection showed corrosion had disrupted the electrical connection. This shows the importance of checking for corrosion or cracks.
Checking water levels for wet cell batteries
Wet cell batteries often fuel lawnmowers and require consistent upkeep for peak performance. Ensuring these batteries have enough water is vital to protect them and expand their lifespan.
For wet cell batteries, here’s how to check the water levels:
- Spot the battery: Discover where the battery is in your lawnmower. It’s typically under the hood or by the engine.
- Get the battery cover off: If there’s a covering over the battery, cautiously take it off to get to the cells.
- Look at each cell: Wet cell batteries have separate cells full of electrolyte solution. Check the water level in each cell simply by looking.
- Add distilled water if needed: If any cells need more water, add distilled water until they reach the level written on the battery casing.
It’s important to always monitor and maintain wet cell batteries’ water levels for their proper functioning and longer life. Neglecting this can cause weak performance or complete failure, resulting in expensive replacements.
By following these steps, you can keep your lawnmower’s wet cell battery hydrated and guarantee it will keep supplying power for your lawn care needs.
Make sure your battery lasts – increase its life like a pro!
Extending the battery’s life
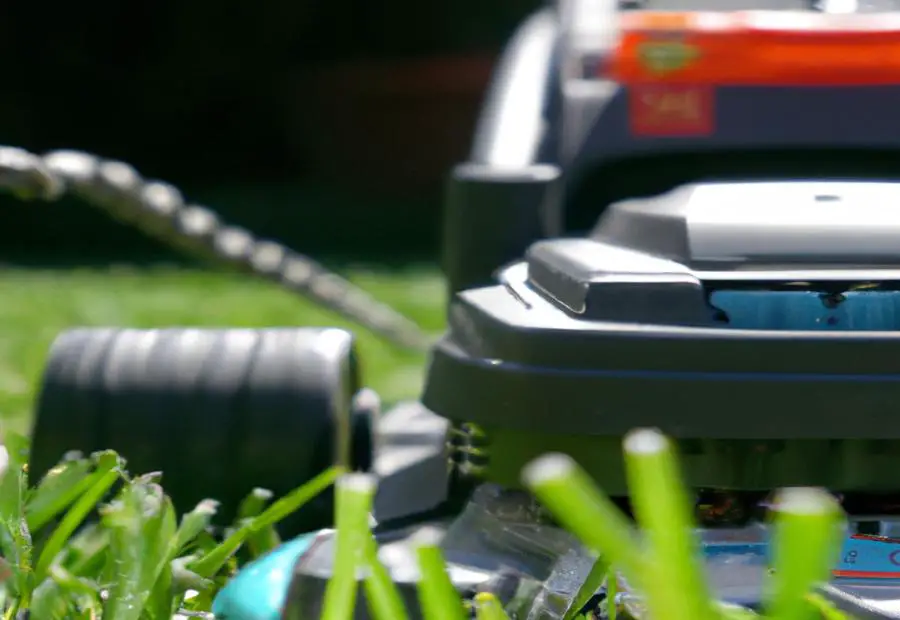
Photo Credits: Gardenerheaven.Com by Alexander Johnson
To extend the battery’s life when jump-starting a lawn mower, it’s crucial to understand the reasons behind premature battery failure. Let’s explore the factors that contribute to battery deterioration, providing you with insights and tips to help you prolong its lifespan. With this knowledge, you’ll be equipped to take proactive steps in maintaining the health of your lawn mower’s battery.
Understanding reasons for premature battery failure
Premature battery failure in lawn mowers can have various causes. Corrosion on the battery terminals is a key factor. Cleaning the terminals often is essential to keep electricity flowing and stop battery failure. Not charging the battery regularly can decrease its capacity and lifespan.
Also, inspect the battery casing for any cracks or damage. Moisture inside the battery can cause issues and failure. Keep the correct water levels in wet cell batteries. Checking and maintaining the water levels prevents decreased battery efficiency and damage.
To prevent premature battery failure, clean the terminals with baking soda and a wire brush. Use a trickle charger designed for small engine batteries to safely charge the battery. Inspect the battery casing for cracks and replace it if necessary. Store the battery in a cool, dry place during the off-season. And remember – jump starting your lawn mower is OK, but don’t try it on your neighbor’s car!
Conclusion
Photo Credits: Gardenerheaven.Com by Jacob Moore
In conclusion, understanding the importance of proper battery maintenance is crucial for ensuring the longevity of your equipment. By implementing effective strategies, you can maximize the lifespan of your lawn mower and keep it running smoothly. Let’s explore the significance of maintaining the battery and discover how it can contribute to the overall efficiency and performance of your equipment.
Importance of proper battery maintenance for equipment longevity
Regular, proper maintenance of a lawnmower’s battery is key for its long-term performance. Taking care of it avoids costly replacements. Steps include:
- Check the battery’s condition.
- Clean the battery terminals.
- Connect the jumper cables correctly when jump-starting.
Gather necessary tools first: wire brush, baking soda, jumper cables, safety goggles, leather gloves. Use wire brush and baking soda to clean the battery terminals, removing corrosion.
Jump-starting the lawnmower? Steps:
- Start the car first.
- Follow safety precautions to avoid short circuits.
Keep the battery charged every one to two months with a trickle charger. Check for corrosion or cracks, ensure water levels are sufficient for wet cell batteries.
Some Facts About Ways to Jump Start a Lawn Mower: Easy and Effective Methods:
- ✅ Jump starting a lawnmower with a dead battery is possible and can be done using jumper cables and a car battery or jump starter. (Source: Team Research)
- ✅ Before jumpstarting, it is important to determine whether the lawnmower battery is dead or if there is another problem with the lawnmower. (Source: Team Research)
- ✅ To jumpstart a lawnmower, clean the battery terminals of both the car and lawnmower batteries using baking soda and a wire brush. (Source: Team Research)
- ✅ When connecting the jumper cables, start the car first and then try to start the lawnmower. Let the car engine run for a few more seconds if needed. (Source: Team Research)
- ✅ Proper battery maintenance, such as using a trickle charger and regularly checking for corrosion or cracks, can help extend the life of a lawnmower battery. (Source: Team Research)
FAQs about Ways To Jump Start A Lawn Mower: Easy And Effective Methods
How can I jump-start a lawn mower with a completely dead battery?
To jump-start a lawn mower with a completely dead battery, you will need a car battery or a jump starter. Start by cleaning the battery terminals on the lawn mower and connecting the positive cable to the positive terminal of the battery. Then, connect the negative cable to a metal part of the mower frame. Once the connections are secure, start the car or activate the jump starter. After a few moments, try starting the lawn mower. If it doesn’t start, let the battery charge for a while longer before attempting to start again.
Can I use a battery charger to jump start my lawn mower?
Yes, you can use a battery charger to jump start your lawn mower. Some battery chargers have a special starter mode that supplies enough power to start the engine. Connect the battery charger to the lawn mower’s battery and follow the manufacturer’s instructions for charging. Once the battery is charged, attempt to start the lawn mower. If it doesn’t start, there may be another issue with the mower that needs to be addressed.
Is it safe to jump start a lawn mower with a car battery?
Yes, it is safe to jump start a lawn mower with a car battery as long as proper precautions are taken. Make sure both the car and the lawn mower engine are turned off before making any connections. Clean the battery terminals to remove any corrosion and securely attach the jumper cables, making sure the positive and negative terminals are correctly matched. Start the car first and then try to start the lawn mower. Always follow the safety guidelines provided in the mower and car manuals.
Can I jump start a battery-operated push mower?
No, you cannot jump start a battery-operated push mower. These mowers usually have a rechargeable battery, so if the battery is dead, it will need to be charged or replaced. Refer to the manufacturer’s instructions on how to properly charge the battery or seek professional assistance.
Can I jump start a gas-powered mower with an electric start using a car battery?
No, it is not recommended to jump start a gas-powered mower with an electric start using a car battery. Instead, use a battery jump pack or a special jump starter designed for smaller engines. Jump starting with a car battery may cause damage to the mower’s electrical system.
What should I do if jump starting my lawn mower doesn’t work?
If jump starting your lawn mower doesn’t work, there may be another underlying issue that needs to be addressed. Try charging the battery with a battery charger or consider replacing the battery if it is old or damaged. If the mower still doesn’t start, it is advisable to have it inspected and serviced by a professional.

