

GardenerHeaven.com is reader-supported. When you buy through links on our site, we may earn an affiliate commission.
Finding the perfect lawn mower blade position is crucial for achieving optimal cutting performance. In this section, we will explore the importance of blade position and how it can impact the quality of your lawn’s appearance. Additionally, we will provide insights on how to optimize your blade position for a clean and even cut. So, let’s dive in and learn the key factors behind achieving an impeccable mowing experience.
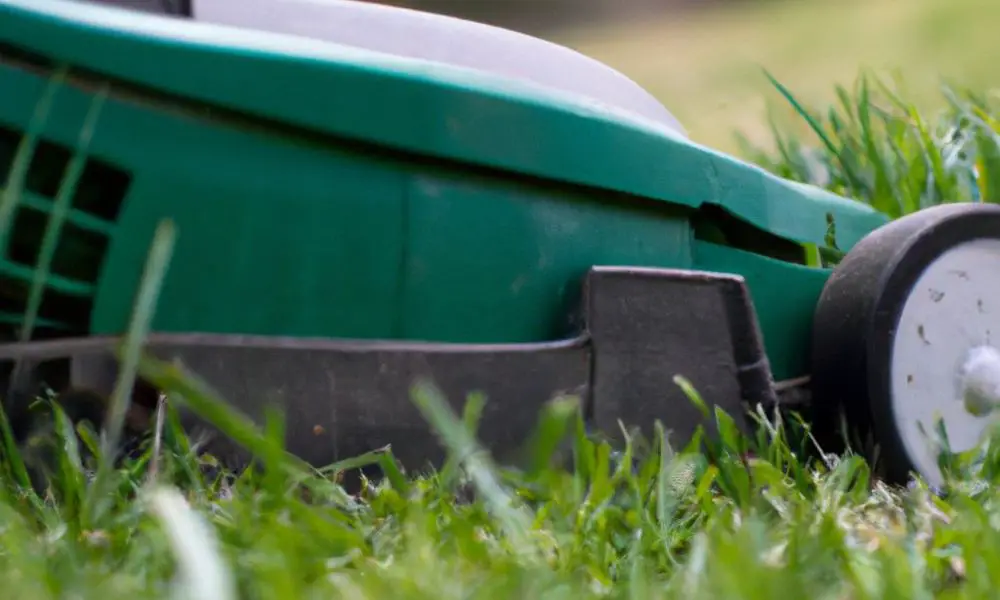
Importance of Lawn Mower Blade Position
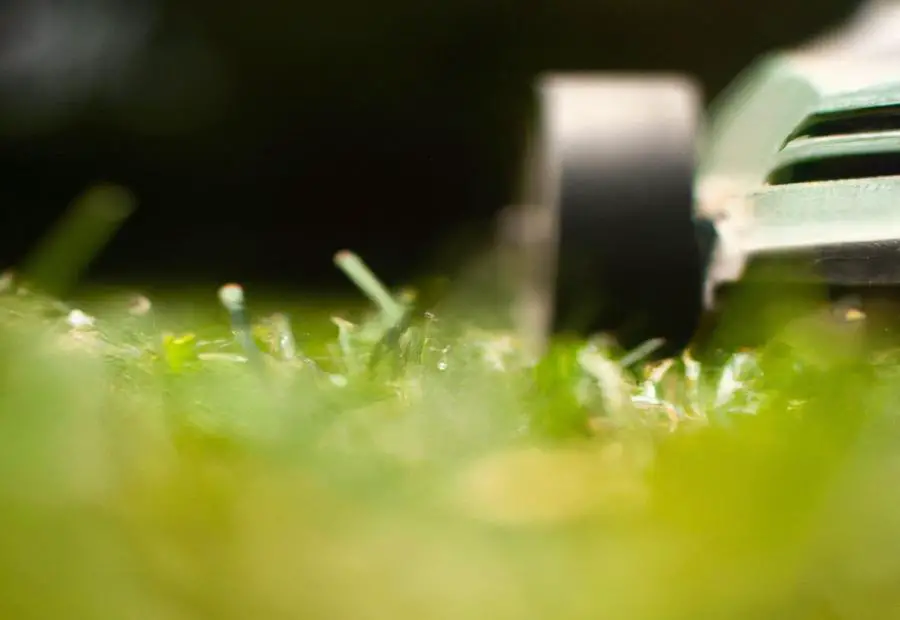
Photo Credits: Gardenerheaven.Com by Jose Allen
A lawn mower blade in the right spot is key for a great cut. Its spot impacts the look and health of the lawn. Change the blade’s place and you will get an even cut, no more uneven cutting or scalping.
For the best results, try this troubleshooting process:
- Check the blade for damage or dullness.
- Check the mounting area for dirt and blockages.
- Set the blade height by raising or lowering it for the grass height you want.
- Make sure the blade is balanced.
Test and adjust the blade to make sure it is in the ideal spot. If you follow these steps, you can fix issues like uneven cutting, excessive vibration, or scalping.
To keep the blade position good, regularly maintain it. Sharpen and replace blades, clean and lubricate the mounting area to avoid rust and corrosion.
You can’t control your life, but you can control the blade position for an optimal cut. Now go get those blades in the right spot!
Optimizing Blade Position
- Examine the blade for damage or dullness. If it’s damaged, sharpen or replace it to get optimal performance.
- Inspect the mounting area for loose or worn-out parts. Tighten bolts or replace parts if needed.
- Adjust the blade height for the desired cutting height. This can be done by adjusting the deck height lever.
Remember: It’s not only about height! Check and balance the blade for vibrations that may damage both the mower and the grass.
Pro Tip: Inspect and maintain your mower’s blade position for long-lasting performance. Clean and lubricate the mounting area, and store and handle it carefully. Wrenches, pliers, and patience are your new best friends!
Tools and Materials Needed for Troubleshooting and Adjusting Blade Position
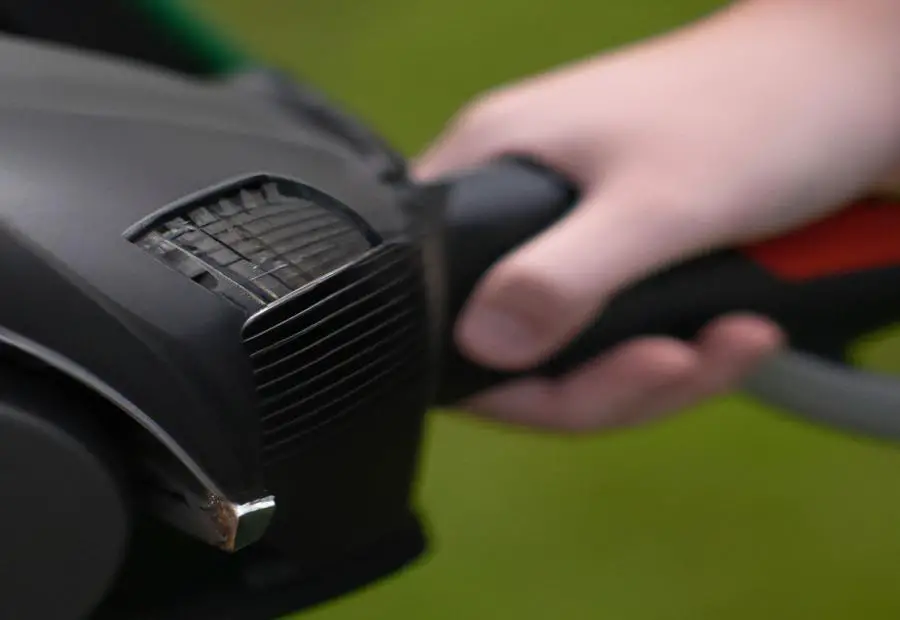
Photo Credits: Gardenerheaven.Com by Eugene Hall
The tools and materials needed for troubleshooting and adjusting the blade position of a lawn mower are:
- A wrench or socket set
- A blade removal tool
- Lubricating oil
- A sharpening file or grinder
These tools are essential for effective troubleshooting and blade adjustment. A wrench or socket set is needed to remove and secure the blade. The blade removal tool helps safely handle the blade during troubleshooting and adjustment. Lubricating oil is necessary for the blade’s movement and performance. A sharpening file or grinder keeps the blade sharp and optimized for cutting.
For complete troubleshooting, it’s important to understand the lawn mower’s user manual. This knowledge will help identify and troubleshoot any blade-related issues. By following the guidelines, one can troubleshoot and adjust the blade position, resulting in improved cutting performance.
Step-by-Step Guide to Troubleshooting Lawn Mower Blade Position
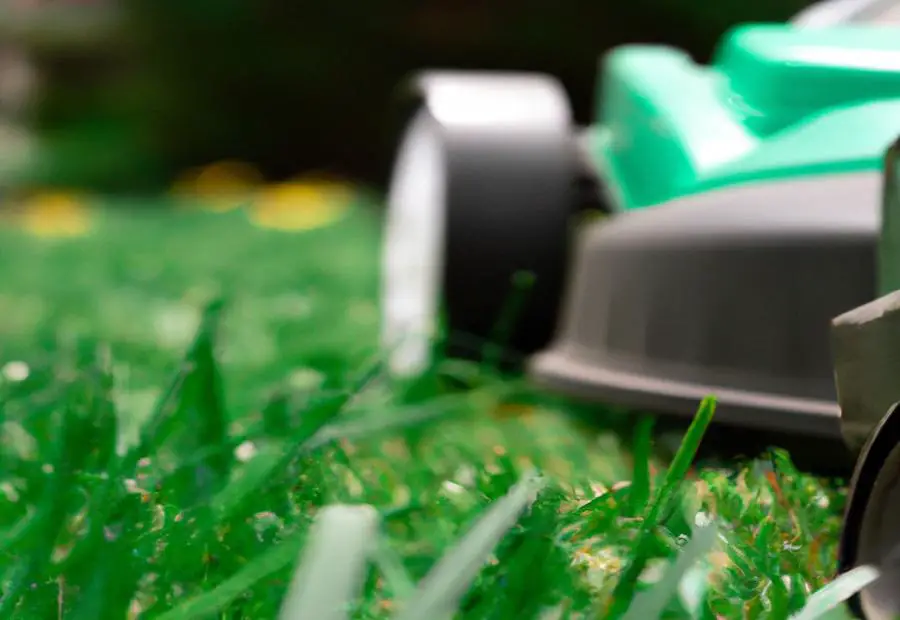
Photo Credits: Gardenerheaven.Com by Juan Clark
In our step-by-step guide to troubleshooting lawn mower blade position, we will take you through various aspects that can affect cutting performance. From examining the blade for damage or dullness, inspecting the blade mounting area, and adjusting blade height to ensuring blade balance and fine-tuning blade position, we will provide you with valuable insights to optimize the efficiency of your lawn mower. Get ready to enhance the quality of your lawn care routine!
Examining the Blade for Damage or Dullness
Inspecting the lawn mower blade is a must. Looking for any damage or dullness can identify and address potential issues quickly. This stops uneven cutting and other problems.
- Unplug the spark plug to avoid surprises.
- Turn the mower on its side, with the carburetor up.
- Look for chips or cracks, and replace the blade if needed.
- Wear gloves and feel the edge for dullness. Sharpen if necessary.
- Use a file or grinder to sharpen, and keep the cutting angle.
- Reinstall the blade with proper torque to operate safely.
Checking other components involved with blade rotation is also key. This includes looking for loose or damaged parts in the mounting area. Tighten all connections for effective cutting and to avoid vibration.
Unlock the mystery of the blade area – bolts, clippings, and more!
Inspecting the Blade Mounting Area
In our mission to acquire optimal cutting performance, it is essential to inspect the lawn mower’s blade mounting area. This allows us to identify possible issues or damage that might affect the stability and positioning of the blade.
To do this, follow these steps:
- Clean up the area. Use a brush or compressed air to clear away dirt, grass clippings, and other debris.
- Look for loose or damaged parts. Check for any loose bolts, screws, or nuts that require tightening. Also, look for signs of damage such as cracks or excessive wear.
- Verify proper alignment. Ensure that the blade is centered and sits at an equal distance from all sides of its housing. Address and correct any misalignment.
- Lubricate moving parts. Apply lubricant to any moving parts within the blade mounting area to reduce friction and ensure smooth operation of the blade.
By following these steps, you can effectively inspect the blade mounting area and address any issues that may compromise cutting performance. Regular inspection should be part of your maintenance routine. Pay attention to details when troubleshooting and optimizing other aspects, such as adjusting blade height and ensuring balance, in order to achieve a perfectly aligned blade and superior cutting performance.
Adjusting Blade Height
Height adjusting the lawn mower blade is essential for optimized cutting performance. It helps to trim grass to the desired length resulting in a neat and even lawn. Knowing how to adjust the blade height right, leads to ideal cutting performance and keeps your lawn healthy and attractive.
- To begin, ensure the lawn mower is turned off and disconnected from any power source.
- Locate the lever or mechanism controlling the blade height. This is commonly found on either side of the mower deck.
- Choose the required cutting height setting depending on your preference or specific needs.
- Adjust the blade height by moving the lever or mechanism to raise or lower it. Exercise caution and make small adjustments to avoid damaging the blade or mower deck.
- Check the alignment of the blade. Make sure it is parallel to the ground and not tilted to either side.
Also, factor in grass type and seasonal variations when adjusting blade height. Raising the blade height slightly during times of drought or extreme heat helps to reduce stress on the grass. Whereas, lowering the blade height in cool weather or rapid growth helps to cut more effectively. Adjusting blade height as per these factors gives optimal cutting performance all year round.
A study by LawnCarePal showed that adjusting blade height correctly boosts cutting efficiency while keeping the lawn healthy and good-looking. Balance the blade for a smooth cutting experience and a perfectly even lawn – even lawns deserve love!
Ensuring Blade Balance
Blade balance is key for top-notch cutting. A balanced blade leads to smoother, more efficient lawn mowing, reducing vibrations and protecting the grass and machine. It’s essential to achieve and maintain a correct balance for a clean, even cut.
To make sure your blade is balanced:
- Check the blade for any signs of damage or wear. Look out for chips, cracks, or bends.
- Check the mounting area connecting the blade to the mower deck. Clear away any obstructions or debris.
- Adjust the blade height as required. Too high and you’ll scalp or rip the grass. Too low and you’ll get an uneven cut.
- Test the balance with a balancer tool or level surface. If one side is much heavier, material may need to be removed from that side.
- Fine-tune the blade position for proper balance.
- Test the mower’s cutting performance to ensure it’s operating correctly.
Regularly inspect and maintain blades for top-notch performance. Sharpen or replace them when needed. Clean and lubricate the mounting area to avoid rust. Handle and store your lawn mower with care.
Follow these instructions to achieve the perfect cut every time. Don’t miss out – check and optimize the blade balance with our guide. Enjoy the benefits of a smoothly aligned blade!
Testing and Fine-Tuning Blade Position
John, a lawnmower enthusiast, had been troubled by bad cutting of his grass for weeks. He searched online and found a guide to help him fix his blade position.
- Firstly, he cleaned the mounting area to allow the blade to rotate freely.
- Secondly, he adjusted the blade’s height according to the type of grass he had.
- Thirdly, he checked for imbalance, making sure it was properly balanced.
- Lastly, he tested the blade’s position by mowing a small patch of grass.
Miraculously, it worked! Through carefully fine-tuning the blade position, John achieved great results with his lawn mower. Moreover, he knew that regular maintenance was key to keeping optimal blade position.
Common Issues and Solutions related to Lawn Mower Blade Position
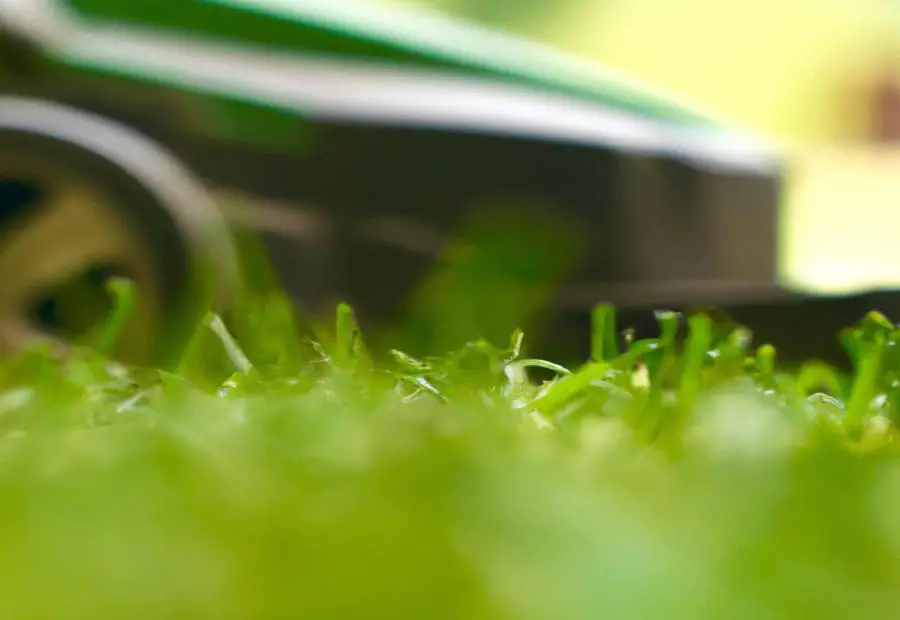
Photo Credits: Gardenerheaven.Com by Nathan Gonzalez
Having the right blade position is crucial for achieving optimal cutting performance with your lawn mower. In this section, we will discuss common issues that can arise due to improper blade positioning and provide practical solutions. From uneven cutting to excessive vibration and the dreaded scalping or ripping of grass, we’ll address each issue individually with valuable insights to help you resolve them effectively. Get ready to troubleshoot and level up your lawn mowing game!
Issue 1: Uneven Cutting
Uneven cutting can give your lawn an untidy, unattractive look. But don’t worry! Here are 5 steps to fix it:
- Check the blade for damage or dullness. These can stop it from slicing grass evenly.
- Inspect the blade mounting area. Clear away any obstructions or debris.
- Adjust the blade height. Too low and it’ll scalp or rip the grass, too high and it won’t cut evenly.
- Balance the blade. Use a balancing tool or kit for blades.
- Test and fine-tune the blade position. Make minor adjustments until you get an even cut.
Regularly sharpening, replacing, cleaning, and lubricating the blade mounting area all help maintain optimal blade position. Follow these steps and you’ll get the perfect dance floor for your lawn mower!
Issue 2: Excessive Vibration
Excessive vibration is an unwelcome guest when it comes to lawn mower blade position. When the blades aren’t adjusted or balanced properly, it can make operation uncomfortable and lead to potential damage.
To combat this:
- Inspect the Blade Mounting Area: Check for loose or damaged parts that could contribute to vibration. Tighten screws/bolts and replace worn-out components.
- Check Blade Balance: Poor balance can cause vibrations. Hang the blade from a nail or use a tool to check balance. If one side is lower, use a grinder or file to even it out.
- Test and Fine-Tune Blade Position: Run the mower and observe if there’s still excessive vibration. Adjust the height or other factors as needed.
Regular maintenance (sharpening, replacing blades, cleaning and lubricating the mounting area) can help prevent these issues. Smooth operation and a longer mower lifespan are within reach!
Issue 3: Scalping or Ripping of Grass
Scalping or ripping of grass can occur when the lawnmower blade is not set up correctly. It can cause uneven cutting, where sections of the grass are cut too short or even torn.
To avoid this issue:
- Check the blade for any signs of damage or dullness.
- Ensure the blade is firmly attached.
- Adjust the blade height to prevent scalping and ripping.
- Balance and fine-tune the blade position.
Regular maintenance such as sharpening and replacing blades can help stop scalping or ripping. Keeping the mounting area clean and lubricated will also help and proper storage and handling of the lawn mower will maintain an optimal blade position.
For example, one homeowner experienced scalping on their lawn after using a poorly adjusted lawn mower. After replacing the damaged blade and making sure it was adjusted correctly, their lawn was back to normal without any scalping or ripping.
Follow these tips for a perfect blade position and a happy lawn!
Tips for Maintaining Optimal Blade Position
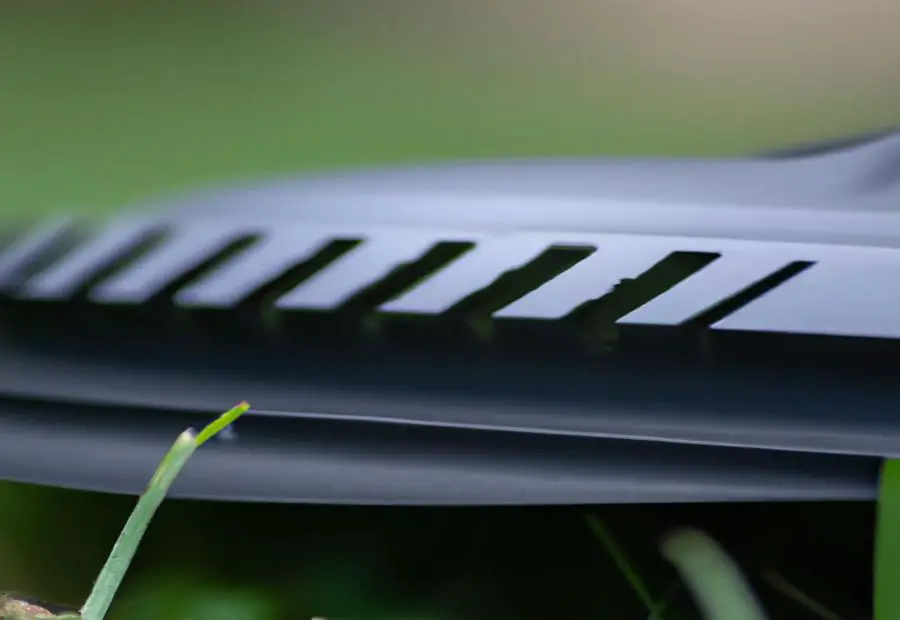
Photo Credits: Gardenerheaven.Com by John Williams
When it comes to maintaining optimal cutting performance, having the right blade position is crucial. In this section, we will explore key tips to help you achieve and sustain the ideal blade position for your lawn mower. From regular blade sharpening and replacement to cleaning and lubricating the blade mounting area, and proper storage and handling techniques, we will provide you with actionable insights to keep your lawn mower in top-notch condition.
Regular Blade Sharpening and Replacement
- Take off the blade: Disconnect the spark plug and turn off the engine. Use a wrench or socket set to remove the bolt.
- Clean the blade: Use a wire brush or scraper to remove any grass, dirt or rust.
- Sharpen the blade: Using a file or grinder, sharpen each side of the blade edge at a consistent angle. Follow the manufacturer’s instructions for your model.
- Check balance: Suspend the blade through its center hole. If one side dips lower, file or grind it down until both sides are level.
- Replace if needed: Look for cracks or excessive wear that can’t be fixed with sharpening. Replace the blade with a new one of matching specifications if required.
- Put the blade back: Position the sharpened or replaced blade back into its mounting area. Secure it tightly with the bolt, making sure it is aligned and centered.
Regular maintenance keeps blades in top condition. Monitor their condition to get great results all season.
Cleaning and Lubricating the Blade Mounting Area
To keep your lawn mower in top performance, cleaning and lubricating the blade mounting area is a must. This helps prevent rust, smooths the blade’s operation, and extends its life. Here’s a 6-step guide to do it right:
- Disconnect the spark plug wire and use a socket wrench to remove the bolt holding the blade in place – then lift off the blade.
- Use a brush or rag to remove any debris or grass clippings from the area.
- While cleaning, check for any signs of damage or wear – such as cracks, dents, or worn-out parts.
- Apply a thin layer of lubricant to all moving parts.
- Place the blade back and secure it with the bolt – but don’t overtighten it.
- Test the installation for any unusual sounds or vibrations.
Regularly inspecting for rust, wear, and damage is important. Also, follow your manufacturer’s guidelines for cleaning and lubrication.
Cleaning and lubricating correctly translates into improved cutting performance and a longer blade life. Make it a regular part of your lawn mower care routine and enjoy peak performance and long-term use. But, beware! If you neglect maintenance, your mowing dreams may go to rust and blades become dull nightmares.
Proper Storage and Handling of the Lawn Mower
For optimal performance and longer life, it’s important to store and handle your lawn mower correctly. Here are some tips to help you do this:
- Clean the lawn mower; get rid of grass clippings, dirt and debris from the blades, deck and other parts.
- Empty the fuel tank; using a siphon pump or let the engine run until all fuel is used up.
- Disconnect the spark plug wire to avoid accidental starting.
- Store in a dry location; like a shed or garage to protect it from the weather.
- Elevate the lawn mower off the ground to avoid moisture and rusting.
- Cover with a tarp or a fitted cover; for extra protection against dust and debris.
Following these steps can help you keep your lawn mower in great condition. Storing and handling it right can help to extend its lifespan and keep it cutting optimally for years.
Conclusion: Achieving a Perfectly Aligned Blade for Optimal Cutting Performance
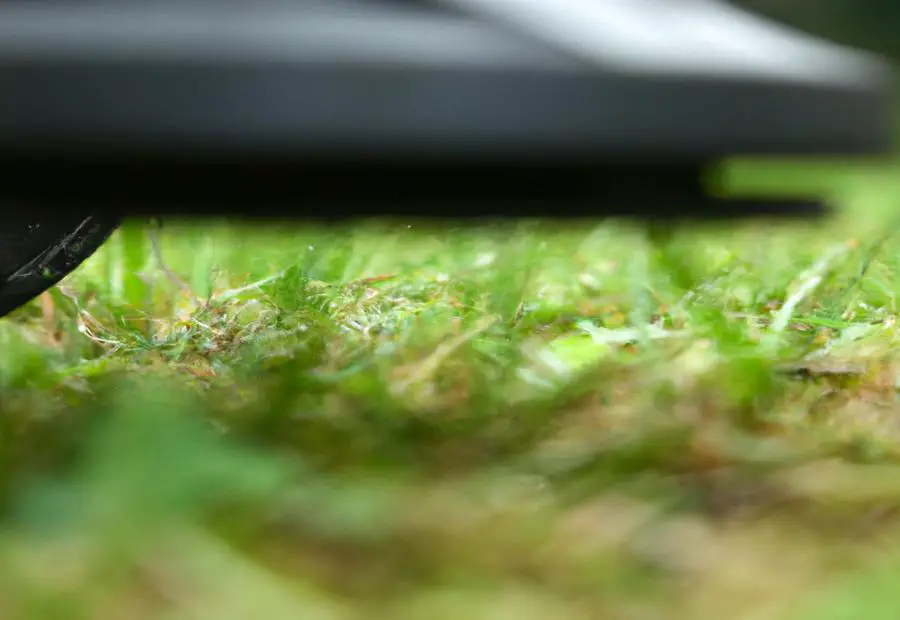
Photo Credits: Gardenerheaven.Com by Bobby Baker
Achieving ideal cutting performance with your lawn mower requires proper alignment of the blade. This is key for the quality and efficiency of the mower. Follow the steps in the article, “Troubleshooting Lawn Mower Blade Position: Correcting and Optimizing Cutting Performance” to get the desired alignment.
The article stresses the importance of aligning the blade. It gives instructions to troubleshoot misalignment and how to fix it. If you follow these steps, you can get your blade in the optimal position for cutting.
Not only that, but the article explains how misalignment affects the mower’s performance. It can cause uneven cutting, increased vibration, and reduced productivity. Address blade misalignment to improve the precision and quality of your mowing.
Some Facts About Troubleshooting Lawn Mower Blade Position: Correcting and Optimizing Cutting Performance:
- ✅ Correct blade position is essential for optimal cutting performance. (Source: Exmark Service Team)
- ✅ The machine ID tag, including the model number and serial number, should be located for troubleshooting and parts lookup. (Source: Exmark Service Team)
- ✅ When cleaning the mower, it is recommended to minimize the use of water to avoid corrosion and problems. (Source: Exmark Service Team)
- ✅ An old starter rope can be repurposed as a tool to remove or install a spring. (Source: Exmark Service Team)
- ✅ Blade sharpness and balancing are crucial for lawn health and reducing stress on the mower. (Source: Exmark Service Team)
FAQs about Troubleshooting Lawn Mower Blade Position: Correcting And Optimizing Cutting Performance
Question 1: How can I optimize the cutting performance of my lawn mower blade position?
Answer 1: To optimize the cutting performance of your lawn mower blade position, you can follow these steps:
Ensure that the machine is turned off and the spark plug wire is disconnected for safety.
Locate the machine ID tag on your mower, which contains the model number and serial number. This information is essential for troubleshooting and finding the correct parts.
Check the blade for sharpness and balance. Blades should be sharpened every 8 to 10 hours of use to maintain the health of the grass and reduce stress on the mower.
Adjust the blade height to the recommended level for your grass type and cutting conditions.
Clean the mower regularly, using compressed air or blowers to remove debris and minimize the use of water to prevent corrosion and problems.
Grease and lubricate the mower after cleaning, focusing on pivot points and spring-tensioned areas for even distribution of grease.
Question 2: How do I troubleshoot electrical connections on my lawn mower?
Answer 2: If you are experiencing issues with electrical connections on your lawn mower, try these troubleshooting steps:
Turn off the mower and ensure the spark plug wire is disconnected for safety.
Inspect the electrical connections for any loose or corroded wires. Clean and reconnect any loose connections.
Use a wire brush to clean the electrical terminals and repack them with dielectric grease to prevent corrosion.
If necessary, consult the mower’s manual or contact the Exmark Service Team for further assistance.
Question 3: What should I be cautious of when using tire sealant on my lawn mower?
Answer 3: When using tire sealant on your lawn mower, consider the following cautions:
Be aware of the weight added by tire sealant as it can affect the mower’s performance and maneuverability. Follow the manufacturer’s instructions for the appropriate amount of sealant to use.
Avoid using tire sealants that make the tire hard, as it can affect the shock absorption and potentially damage the tire or mower.
Check the tire regularly for any signs of leakage or damage. If you notice any issues, consult a professional or refer to the mower’s manual for guidance.
Question 4: What is the “NetzDG Transparenzbericht” section on YouTube?
Answer 4: The “NetzDG Transparenzbericht” section on YouTube provides transparency reports related to the German Network Enforcement Act (NetzDG). This act requires social media platforms to report on how they handle complaints and requests related to illegal content. The transparency report provides information on the number of complaints received, actions taken by YouTube, and the overall handling of NetzDG-related issues.
Question 5: What services does the Exmark Service Team provide?
Answer 5: The Exmark Service Team provides various services related to the day-to-day service and maintenance of equipment. These services include:
Troubleshooting assistance for identifying and resolving issues with Exmark equipment.
Providing tips and guidelines for routine maintenance tasks, such as cleaning, greasing, and lubricating the mower.
Assisting with parts lookup and identification using the machine ID tag, which contains the model number and serial number of the equipment.
Offering expert advice on specific tasks, such as installing a spring, storing foam precleaners, and checking and adjusting new belts.
Question 6: How can I cancel my contracts with YouTube?
Answer 6: To cancel your contracts with YouTube, you can follow these steps:
Visit the YouTube platform and navigate to the “Verträge hier kündigen” section, which provides instructions for canceling contracts.
Follow the cancellation instructions provided on the platform, which may involve filling out a form or contacting YouTube directly.
Review the terms and conditions of your specific contract to understand any cancellation policies or requirements.
If you encounter any difficulties or have further questions, reach out to YouTube’s dedicated support or customer service team for assistance.

