

GardenerHeaven.com is reader-supported. When you buy through links on our site, we may earn an affiliate commission.
Clean a snowblower carburetor is essential for maintaining its performance and preventing costly repairs. In this section, we’ll explore why cleaning the carburetor is crucial and how it can help ensure that your snowblower functions optimally when you need it the most. Plus, we’ll provide valuable tips and insights on how to effectively clean the snowblower carburetor, so you can tackle snow removal tasks with ease.
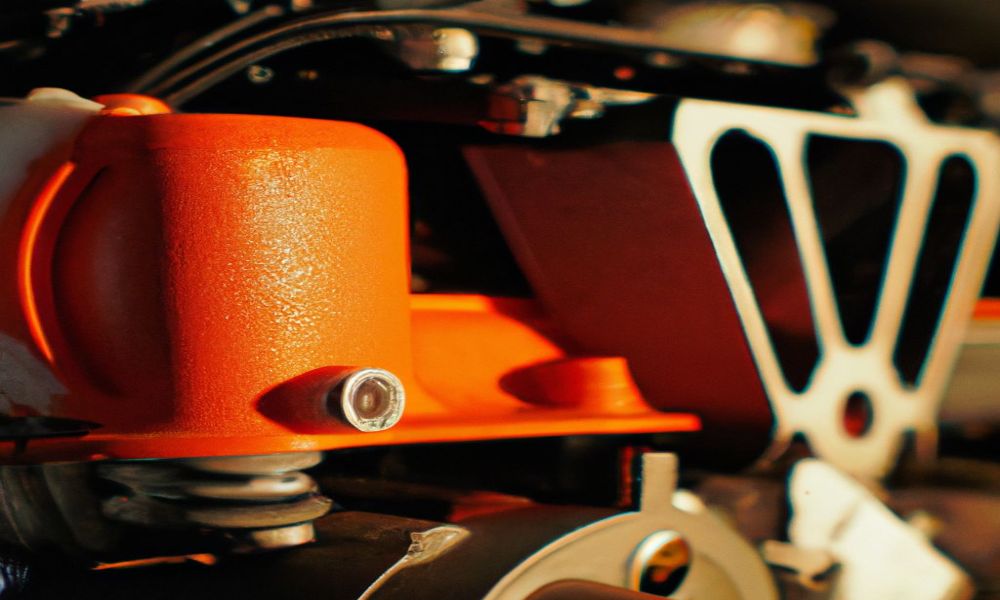
Importance of cleaning a snowblower carburetor
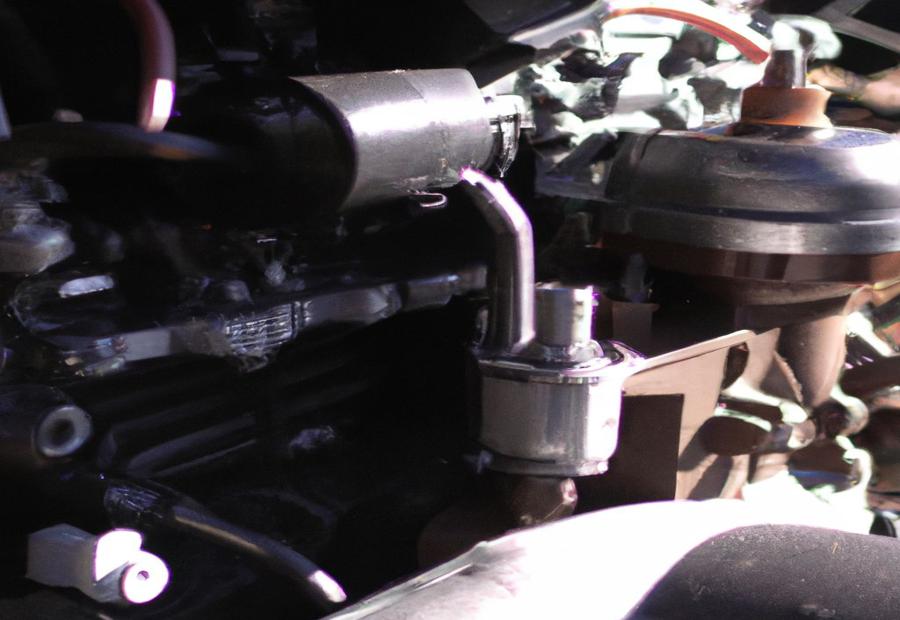
Photo Credits: Gardenerheaven.Com by Zachary Clark
Cleaning a snowblower carburetor is a must! Debris, dirt, and old fuel can block it, causing problems like starting issues, poor engine performance, and decreased fuel efficiency. To make sure your snowblower runs smoothly, cleaning the carburetor is key. Here’s how to do it:
- Remove Carburetor: Unhook fuel lines and electrical connections, and take the carburetor off.
- Soak in Cleaning Liquid: Dip the carburetor in a liquid to dissolve the residue.
- Rinse & Dry: Rinse off the cleaning liquid, and dry all parts.
- Reassemble: Put the carburetor back together and attach it to the snowblower.
Luckily, there’s an alternative to removing the entire unit. Just drain the oil and clean out any sediment or debris from the bowl. Clean the nuts and holes too, and reassemble the pieces in their right spots. That’s it! Regular maintenance keeps the snowblower engine running strong – carbure-tor-ture made easy!
Methods for Cleaning a snowblower carburetor
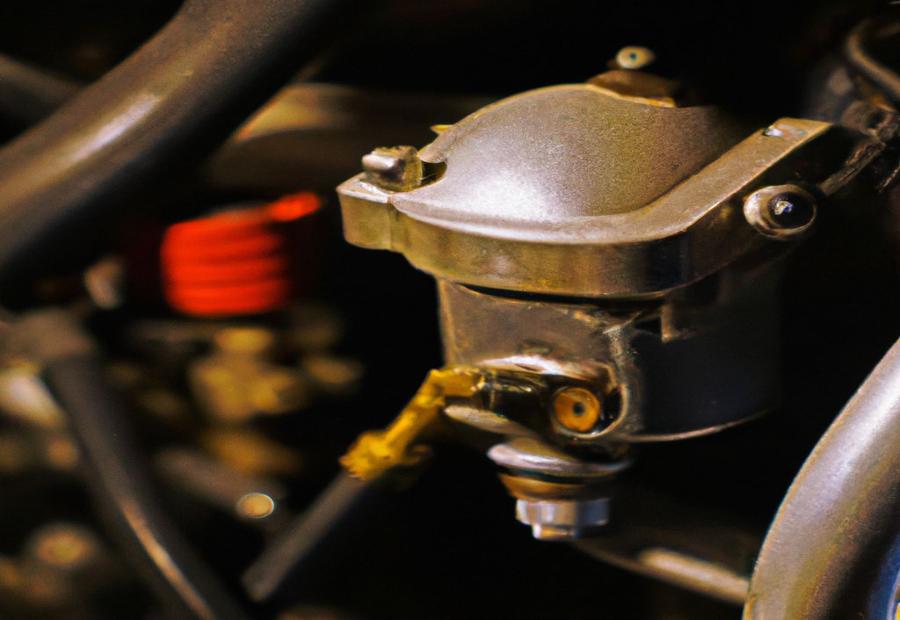
Photo Credits: Gardenerheaven.Com by Gregory Roberts
To effectively clean a snowblower carburetor, you have two options: removing the carburetor for cleaning or cleaning it without removal. In this section, we will explore both methods, offering practical tips and techniques to ensure your snowblower carburetor functions at its best. Dive in to discover the step-by-step process and expert advice for maintaining a clean and efficient carburetor, so you can tackle winter’s challenges head-on.
Removing the carburetor for cleaning
- In preparation for carburetor removal, it is essential to take certain steps. Turn off the engine and disconnect the spark plug wire for safety when cleaning.
- To remove the carburetor, identify its position on the snowblower. Detach any connecting components, like air filters or fuel lines, and keep track of them for reassembly.
- Immerse the carburetor in a specialized cleaning liquid or carburetor cleaner solution.
- Rinse with clean water and dry with compressed air or leave it to air-dry.
- Finally, reassemble components into their original position. Double-check all connections before starting up the snowblower again.
Taking extra care when handling delicate parts and ensuring proper alignment during reassembly helps avoid damage or malfunction. Cleaning the carburetor regularly increases fuel efficiency and snowblower performance. As part of routine maintenance, replace or clean the air filter. Proper fuel management, such as using fresh fuel and stabilizers, and tightly sealing the fuel tank cap, improves carburetor performance. If needed, rebuild the carburetor with a rebuild kit to address any internal wear or damage to small components. These tips will help prolong the lifespan of your snowblower’s carburetor.
Preparing for carburetor removal
- When removing a snowblower’s carburetor, it is essential to take certain precautions. These steps will guarantee a smooth and successful process, in addition to a thorough cleaning of the carburetor.
- Firstly, switch off the engine and disconnect the spark plug wire. This will prevent any accidents or harm during removal.
- Secondly, locate and access the carburetor. This may require taking off parts or panels for clear access. Take care not to damage any painted surfaces or electrical components.
- Thirdly, drain any fuel from the snowblower’s tank. This can be done by running the engine until it stops or manually draining the tank. This helps prevent any potential leaks or spills during carburetor removal.
- Fourthly, detach any hoses or connections that are attached to the carburetor. This might include fuel lines or other related components. Take care not to cause any damage.
- Lastly, remove the carburetor from its mounting position. Consult a repair manual for specific instructions on how best to remove and detach it.
Cleaning the carburetor involves immersing it in a cleaning liquid like a carburetor cleaner. Make sure to rinse and dry thoroughly before reassembling everything.
By following these preparation steps, you can ensure a smooth and safe removal of the snowblower’s carburetor. This allows for a clean and functioning carburetor that will improve the snowblower’s performance.
A step-by-step process for removing the carburetor
Getting the carburetor off of a snowblower is vital for keeping it clean and running as it should. With this step-by-step approach, you can make sure the carburetor is totally pristine, making the snowblower much better!
Here’s how to do it:
- Gather required items: Before beginning, get together all the tools and materials you need. Could include a wrench, pliers, cleaning liquid, and a cloth.
- Take off parts: Start by unplugging the spark plug wire for safety. Then remove any components that block access to the carburetor, like air filters or fuel lines.
- Remove and clean: Gently take off the carburetor from its mount by loosening screws or bolts. After that, put it in a cleaning liquid to get rid of dirt and residue.
Giving it a good rinse and drying it are super important. After this, reattach all the pieces to the snowblower.
These steps show the right way to remove and clean the snowblower carburetor. To keep the snowblower running great, make sure to follow the instructions carefully.
Immersing the carburetor in cleaning liquid
- Preparation for carburetor removal: Turn off the engine. Disconnect electrical connections. Remove any components blocking access to the carburetor.
- Removing the carburetor: Disconnecting fuel lines. Loosen mounting bolts or screws. Detach carburetor.
- Immersing the carburetor: Put in a container with cleaning solution. Make sure it is submerged. Let it sit to dissolve dirt or residue.
- Rinsing and drying: Remove from solution. Rinse thoroughly with clean water. Dry with compressed air or leave in a well-ventilated area.
- Reassembling the carburetor: Reassemble with reverse steps. Make sure connections are secure and tightened.
- Safety precautions: Turn off the engine. Avoid contact between cleaning solution and painted surfaces or electrical components.
- Maintenance: Clean and replace the air filter regularly. Manage fuel properly. Rebuild the carburetor if necessary with a rebuild kit.
Rinsing and drying the carburetor
- Rinse with clean water. Use a gentle stream and ensure all areas, including jets and internal passages, are washed.
- Check for residue. If needed, rinse again until none is seen.
- Dry with compressed air. Blow through all openings and passages to get rid of moisture.
- Let it dry for a few hours or overnight.
- Check for complete dryness. Inspect each part and ensure no moisture is present.
- Reassemble the carburetor. Follow the manufacturer’s instructions. Don’t let dirt or contaminants in.
Drying the carburetor properly prevents corrosion and internal damage. Make sure to allot enough time for it before putting it back together.
Reassembling the carburetor
- Reassemble the carburetor! It is essential in keeping the snowblower running correctly.
- Clean the parts first.
- Then, assemble them back together.
- Don’t bother taking the carburetor apart. Cleaning it is easy-peasy!
Cleaning the carburetor without removal
Here’s how to clean a carburetor without removing it:
- Step 1: Turn off the engine and take out the fuel from the tank.
- Step 2: Locate the carburetor and remove the components needed to access it.
- Step 3: Get rid of the oil and clean the bowl. Remove extra oil or debris.
- Step 4: Use a brush or compressed air to eliminate dirt or debris from the holes and nuts.
- Step 5: Spray the carburetor with a cleaner, focusing on all its parts and making sure they’re free of dirt and residue.
It’s important to remember that this may not work for complex issues, so if problems still exist, you may need to take out the carburetor to clean or repair it.
To keep your snowblower running smoothly, make sure to do regular maintenance such as cleaning and replacing the air filter, managing fuel properly, and preventing fuel evaporation.
Preparing the snowblower for cleaning
Preparing your snowblower for cleaning is essential to ensure effective and thorough results. Here’s what to do:
- Turn off the engine and let it cool completely. This is to avoid any accidents or injuries.
- Disconnect the spark plug wire and remove it from the spark plug. This prevents any accidental ignition of fuel vapors.
- Clear away any debris or snow buildup around the carburetor area, using a brush or compressed air. This helps create a clean workspace.
- Inspect the carburetor and surrounding areas for any signs of damage or wear.
- Place an absorbent material, such as a cloth or cardboard, under the carburetor to catch any drips or spills.
- Gather all the necessary tools and materials for cleaning, including appropriate cleaning solvents, brushes, gloves, safety glasses, and a well-ventilated area.
By preparing your snowblower for cleaning properly, you can expect optimal results. Also, refer to your manufacturer’s manual for detailed instructions specific to your equipment model. Remember, accessing the carburetor without removal is a delicate job and requires finesse.
Accessing the carburetor without removal
- Step One: Ready the snowblower for cleaning. Turn off the engine and remove the spark plug wire. To not lose small parts or damage components, work on a clean, flat surface.
- Step Two: Unfasten the fuel line and bowl drain screw. Carefully remove the fuel line connected to the carburetor. Then, unfasten the bowl drain screw at the bottom of the carburetor bowl to allow any remaining fuel or debris to drain out.
- Step Three: Clean the bowl and inspect for clogs. Utilize a soft-bristle brush or a toothbrush with carburetor cleaner solution to scrub away dirt or grime from inside and outside of the bowl. Check if any of the holes or jets have clogs and use a small wire or thin wooden stick to clear them.
By following these steps, you can access your snowblower’s carburetor without needing to take it out. Note that this method may not provide as thorough of cleaning as taking it out would. This is suitable for regular maintenance such as removing debris buildup in the bowl area.
Fact: Cleaning and replacing the air filter often can significantly improve the performance and life of a snowblower carburetor (Reference Data). This is because a clean air filter optimizes the airflow to the carburetor, resulting in improved fuel combustion and overall engine efficiency.
Draining the oil and cleaning the bowl
- Locate the drain plug on the bottom of the carburetor bowl; it’s usually small and can be removed with a wrench or pliers.
- Put a container underneath the bowl and slowly unscrew the plug. Let the oil flow into the container.
- Inspect the oil for debris or contaminants, and if needed, discard it and refill it with fresh oil.
- Clean both the inside and outside of the carburetor bowl using a suitable cleaner or solvent.
- Use a brush or cloth to remove dirt or buildup from both surfaces – especially float chambers and jets.
- Remember to check for filters in the carburetor assembly. Clean or replace these filters for optimal performance of your snowblower’s carburetor.
- Now you are ready to drain the old oil from your snowblower’s carburetor bowl.
Cleaning the nuts and carburetor holes
Clean nuts and carburetor holes effectively with these steps:
- Start by disconnecting the spark plug wire from the spark plug for safety.
- Use a wrench or socket to loosen and remove the nuts attaching the carburetor to the engine.
- Clean both sides of the carburetor using a brush or compressed air for dirt, debris, or residue.
- Clean the nut threads with a wire brush or compressed air.
- Check each hole in the carburetor for blockages. Use a thin wire or needle tool to clear away any debris.
Taking the time to clean nuts and carburetor holes is critical. Even small blockages can greatly impact efficiency. Regular cleaning helps prolong the snowblower’s lifespan and prevents costly repairs. Clean not only visible places but also hard-to-reach spots. Prolong your snowblower’s performance and ensure smooth operation.
Thoroughly cleaning the carburetor
To clean the carburetor, follow these steps:
- Disconnect the snowblower’s spark plug wire for safety.
- Remove the carburetor according to section 2.1.
- Soak it in a cleaning liquid suitable for carburetors to dissolve residue and clogs.
- Gently brush away dirt and deposits with a soft brush or toothbrush. Focus on the passages and jets for fuel flow.
- Rinse the carburetor with clean water.
- Let it dry before reassembling it back onto the snowblower.
Clean the carburetor for optimal performance. Cleaning may not solve all issues. Refer to section 5 for troubleshooting tips or consult a pro.
Pro Tip: Use an ultrasonic cleaner to remove stubborn deposits and clogs.
Reassembling the various parts
Before putting the parts back together, make sure they are all dry! Any wetness can cause harm or stop it from working.
Here’s the process for reassembling:
- Put the cleaned bowl on the carburetor’s body. Align correctly.
- Screw/bolt the bowl in place. Tighten them up!
- Attach gaskets/seals. Position and align properly.
- Reinstall any other pieces, like jets, needles, and float assemblies. Follow the manufacturer’s instructions.
Now that all parts are reassembled, test the carburetor. Do this by turning the fuel supply on and check for leaks or strange behavior.
If everything looks good, put the carburetor back in its original place. Connect the fuel lines and electrical connections properly.
Doing this step-by-step reassembly ensures that all parts are in order. It helps bring optimal performance to your snowblower carburetor.
For your snowblower’s efficiency and reliability, always do the right procedures when taking apart and putting back together its components. Doing this can keep your snowblower running well and be ready to brave the winter! Don’t miss out on the chance to maintain your snowblower and make it last.
Precautions while cleaning a snowblower carburetor
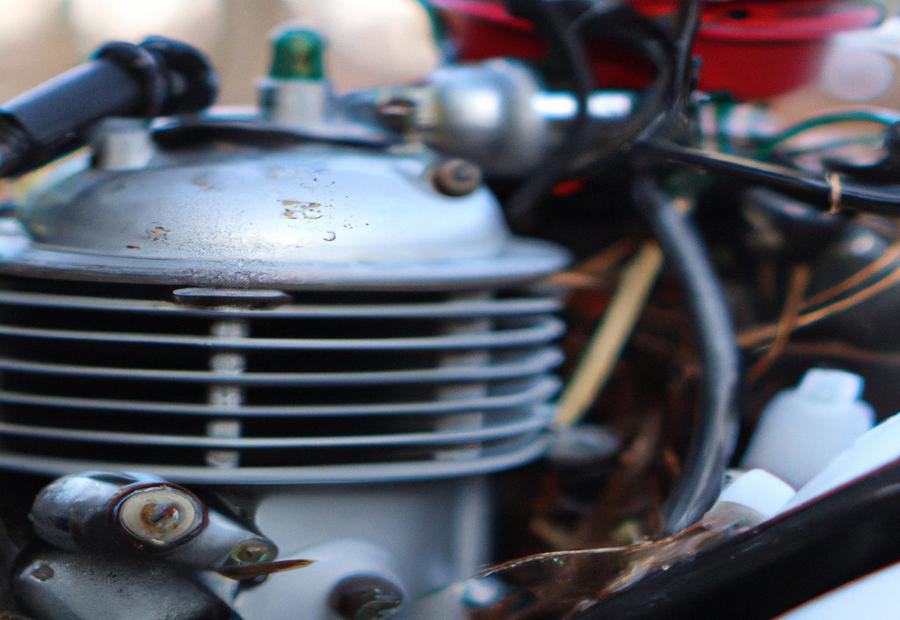
Photo Credits: Gardenerheaven.Com by William Adams
When it comes to cleaning a snowblower carburetor, taking precautions is crucial. In this section, we’ll explore the necessary steps to ensure safety while working on your carburetor. From turning off the engine properly to preventing damage to painted surfaces and electrical components, we’ll cover everything you need to know to handle this task with care. Remember, a little precaution can go a long way in maintaining the performance of your snowblower.
Turning off the engine and ensuring safety
When cleaning a snowblower carburetor, it’s key to first turn off the engine and be safe. This step is essential to avoid any accidents or injuries during cleaning.
To ensure security, follow these steps:
- Disconnect the spark plug wire from the spark plug to disable the ignition system.
- Let the engine cool completely before starting maintenance work. This will reduce the risk of burns or heat-related harm.
- Wear appropriate PPE such as gloves and safety goggles. Protect yourself from any debris or chemicals.
- Always work in a well-ventilated area. Avoid inhaling any toxic fumes from cleaning solvents or gasoline.
Observe that turning off the engine and ensuring safety is key when performing maintenance on a snowblower carburetor. By following these precautions, you can minimize potential risks and clean your snowblower carburetor without compromising your safety or damaging components.
In conclusion, turning off the engine and ensuring safety is critical for accident prevention and personal protection when cleaning a snowblower carburetor. By following the right procedures, you can effectively clean and maintain your snowblower carburetor with no risk.
Avoiding damage to painted surfaces and electrical components
To clean a snowblower carburetor without causing damage to painted surfaces and electrical components, take these precautions:
- Disconnect the spark plug wire from the spark plug. This avoids any ignition or electric shock during the cleaning process.
- Cover painted surfaces and electrical components with a suitable cloth or cover. This prevents any cleaning solution or debris from coming into contact with them.
- Use a soft-bristle brush to remove dirt or debris. Don’t use abrasive materials which can scratch the paint or harm electrical connections.
- Read the instructions carefully before using any cleaning solutions. Apply it sparingly, avoiding sensitive areas.
Refer to the manufacturer’s manual for specific instructions related to your snowblower model. Following these guidelines will maintain the paintwork and electrical systems while cleaning the carburetor.
Maintenance tips for a snowblower carburetor
Photo Credits: Gardenerheaven.Com by Mason Nguyen
Proper maintenance is crucial for the longevity of your snowblower carburetor. In this section, we’ll discover essential tips to keep your carburetor in optimal condition. From regular air filter cleaning and replacement to fuel management strategies, we’ll help you prevent costly repairs and ensure your snowblower operates efficiently. Additionally, we’ll explore how rebuilding the carburetor using a rebuild kit can further enhance its performance. Stay tuned for expert advice on maintaining your snowblower carburetor.
Regular air filter cleaning and replacement
For proper functioning and longer life of your snowblower, regular maintenance of the air filter is imperative. Neglecting to clean or replace it can cause reduced performance and damage. So, stick to a regular cleaning and replacement schedule for smooth running!
- First, turn off the snowblower and use safety measures.
- Then, locate the air filter housing near the carburetor.
- Open it and inspect the filter.
- If dirty or clogged, clean or replace it.
- Gently tap it on a hard surface to remove loose dirt.
- Use compressed air or a brush for stubborn dirt.
- If it cannot be cleaned or is damaged, get a new one.
- Fit it securely into the housing and close.
Cleaning and replacing the air filter is essential for optimal fuel-air mixture in the engine, avoiding excessive wear and tear. Neglecting it, however, can result in decreased power output, fuel efficiency, and emissions from the engine. So, keep your fuel in check or your snowblower might blow more than just snow!
Proper fuel management and prevention of fuel evaporation
For preventing fuel evaporation, store your snowblower in a cool, dry place away from direct sunlight. Close all fuel caps tightly when not in use to maintain optimal fuel levels. Use fresh, clean fuel free from contaminants. Check and replace the fuel filter often to prevent clogs. Utilize a high-quality fuel stabilizer to prevent fuel degradation.
Practicing these fuel management techniques will help extend the lifespan of your snowblower carburetor and boost its efficiency. But if cleaning fails to solve any issues, consult a professional or reference the manufacturer’s troubleshooting guides.
Don’t forget to clean and replace the air filter regularly to prevent debris from entering the carburetor. Also, only use fresh, clean gasoline, and don’t let it sit for too long or it’ll evaporate or degrade. To ensure all internal parts are functioning properly, consider rebuilding your carburetor occasionally with a rebuild kit.
Follow these steps for optimal performance and to avoid any additional costs down the line. Tired of cleaning? Rebuild your carburetor with a rebuild kit for a new level of frustration and swearing!
Rebuilding the carburetor with a rebuild kit
To rebuild the carburetor with a rebuild kit, you will need special components. This will ensure optimal performance and extend the carburetor’s lifespan. Follow these steps:
- Disconnect the spark plug wire and remove the air filter and fuel lines.
- Unscrew or use a wrench to remove the carburetor from the engine.
- Take apart the carburetor, detaching screws, bolts, and clips.
- Replace components from the rebuild kit, such as gaskets, seals, O-rings, and needle valves.
Note: Each rebuild kit may have specific instructions and settings for different snowblower models. Read and follow them carefully to properly install the components and maximize your snowblower’s carburetor performance.
Troubleshooting when the carburetor cleaning doesn’t solve the issue
Photo Credits: Gardenerheaven.Com by Jeffrey Young
When troubleshooting carburetor cleaning, it’s important to look for any problems that could be stopping it from working. One potential reason is a clogged fuel line. Follow this step-by-step guide to find a solution:
- Check the fuel line: Inspect it for damage or blockages. If any are found, replace or clean the line.
- Clean or replace the fuel filter: A dirty filter can stop fuel flow. Take it out, clean it, or replace it if it’s too dirty.
- Inspect the ignition system: The spark plug and wire must be in good condition. Check them and replace if needed.
- Examine the air filter: A dirty filter can restrict airflow. Take it out and clean it according to instructions. Replace if it’s too dirty.
- Verify the choke and throttle: Make sure the choke is adjusted properly and the throttle isn’t stuck.
- Consult a professional: If the above steps don’t work, talk to a small engine repair expert. They can diagnose and fix more complex problems.
These steps are just a general guide. Refer to the manufacturer’s instructions. Regular maintenance and inspection can help prevent future issues.
Conclusion
Photo Credits: Gardenerheaven.Com by Juan Thomas
Clean your snowblower carburetor regularly, for proper functioning. Remove it, disassemble it, and clean each component. Clear away any clogs or debris, to reduce the risk of performance issues in snowy weather.
Maintenance is key to the performance and longevity of the snowblower. Incorporate cleaning and maintenance into your snowblower routine. This will make sure your snowblower runs smoothly, even in challenging snowy conditions.
Some Facts About How To Clean a Snowblower Carburetor:
- ✅ A clogged carburetor can cause reduced performance in a snowblower. (Source: Team Research)
- ✅ Signs that a carburetor needs cleaning include difficulty starting the engine, black smoke emissions, and increased fuel consumption. (Source: Team Research)
- ✅ There are two methods to clean a snowblower carburetor: removing it from the engine or cleaning it without removal. (Source: Team Research)
- ✅ The necessary tools for cleaning a snowblower carburetor include a screwdriver, cleaning solution, copper wire, and compressed air. (Source: Team Research)
- ✅ Precautions should be taken when cleaning a snowblower carburetor, such as turning off the engine and avoiding spraying cleaning solutions on painted surfaces or electric cables. (Source: Team Research)
FAQs about How To Clean A Snowblower Carburetor
How do I clean a snowblower carburetor?
To clean a snowblower carburetor, you can either remove it or clean it while it is still attached. The process for cleaning it after removing it involves detaching the carburetor, immersing it in a cleaning solution for three hours, rinsing it with clean water, cleaning the small holes, and using compressed air. If you prefer to clean it without removing it, you should first turn off the snowblower and let it cool down. Then, remove the carburetor bowl and fuel jet, clean them with carburetor cleaner and a wiping cloth, clean the emulsion tube area, and adjust and seal the carburetor bowl properly.
What are the signs that a snowblower carburetor needs cleaning?
Some signs that a snowblower carburetor needs cleaning include difficulty starting the engine, black smoke emissions, jerking and uneven acceleration, increased fuel consumption, and flooding. If you are experiencing any of these issues, it may be necessary to clean the carburetor.
What tools and materials do I need to clean a snowblower carburetor?
To clean a snowblower carburetor, you will need a screwdriver, cleaning solution, copper wire, compressed air, wet cloth or sandpaper, and potentially a cleaning liquid. These tools and materials are essential for effectively cleaning the carburetor and removing any excess dirt or debris.
How often should I clean my snowblower carburetor?
It is recommended to clean your snowblower carburetor regularly to maintain its optimal performance. Factors such as fuel consumption, excess dirt, and the combustion process can lead to carburetor clogs. Regular cleaning, along with proper air filter maintenance and fuel changes, can help prevent these clogs and ensure your snowblower carburetor remains in great condition.
Can I clean a snowblower carburetor without removing it?
Yes, it is possible to clean a snowblower carburetor without removing it. By following the proper steps and precautions, you can save time and effort. This method involves turning off the snowblower, detaching the carburetor bowl and fuel jet, cleaning them with carburetor cleaner and a wiping cloth, cleaning the emulsion tube area, and properly adjusting and sealing the carburetor bowl.
If cleaning the carburetor doesn’t solve the problem, what should I do?
If cleaning the carburetor does not resolve the issues you are facing with your snowblower, there may be other underlying problems that need to be addressed. It is recommended to consult a professional for further assistance or to troubleshoot any other potential issues with your snow removal equipment.

